Deviation Actions

Painting the Traveller
Reference:
The source is from a 3D Bryce stock model by the artist Andy Simmons who has kindly given me permission to use his rendered model of the Traveller as my reference for this painting in acrylics (thank you kindly Andy).
Tools:
Acrylic colours:
Winsor and Newton & Basic Acrylic paint:
Phthalocyanine Blue
Primary Blue
Dioxazine Purple
Cobalt Blue Hue
Ultramarine
Light Green Permanent
Hooker’s Green
Raw Umber
Yellow Ochre
Cadmium Red Medium
Titanium White
Brushes:
Round No.4
Rigger No.1
Point No.6
Filbert No.8
Flat No.4
Hog Hair No’s 2, 6 and 10
Water de-mister spray bottle
An old wet rag
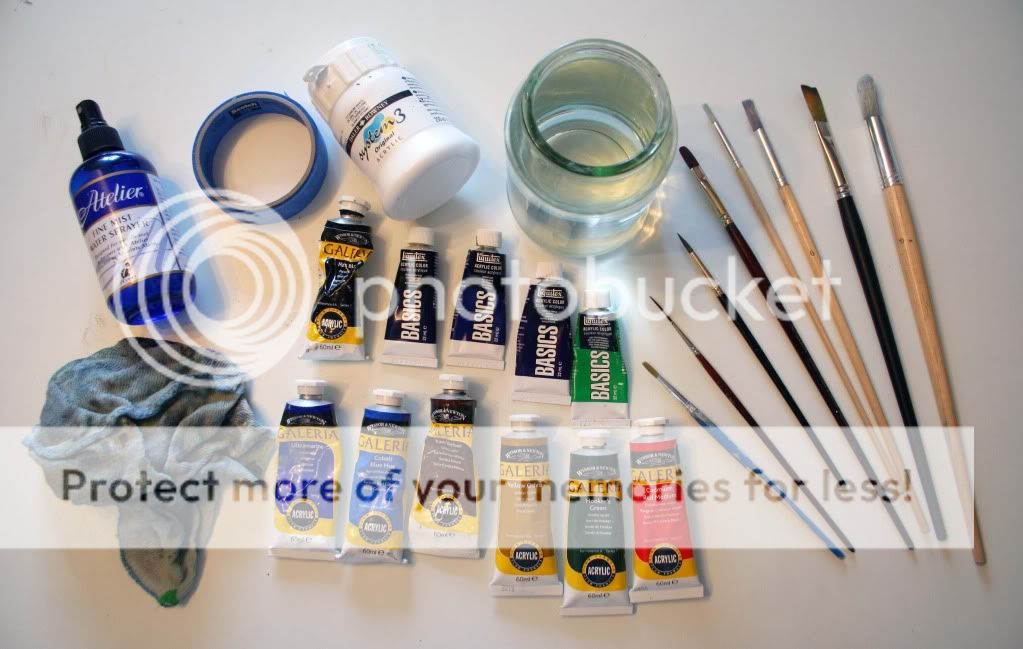
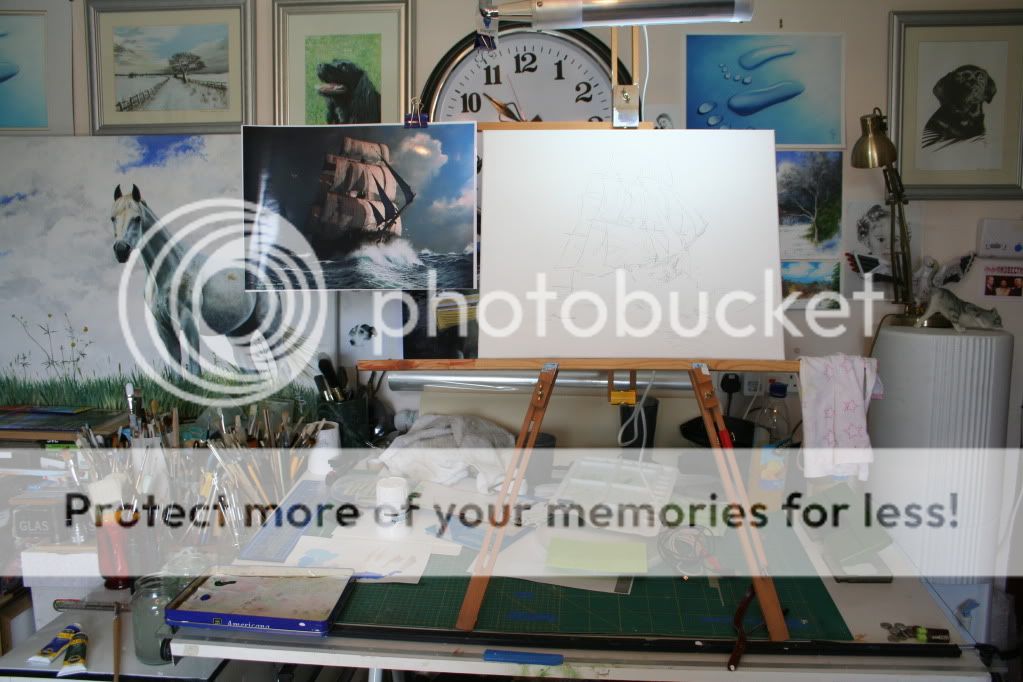
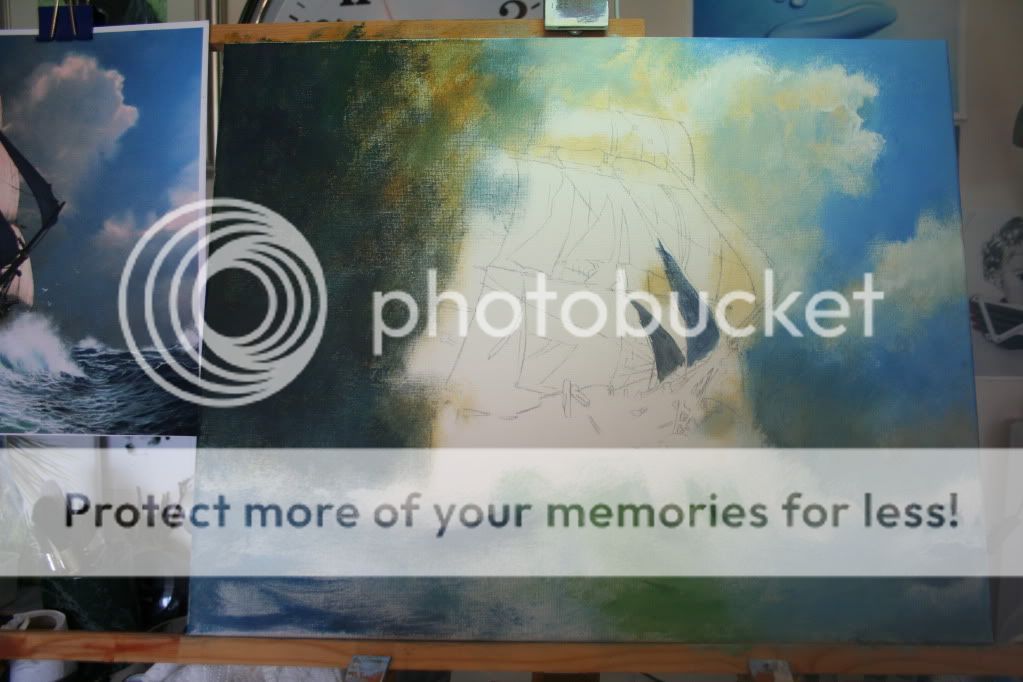
Canvas:
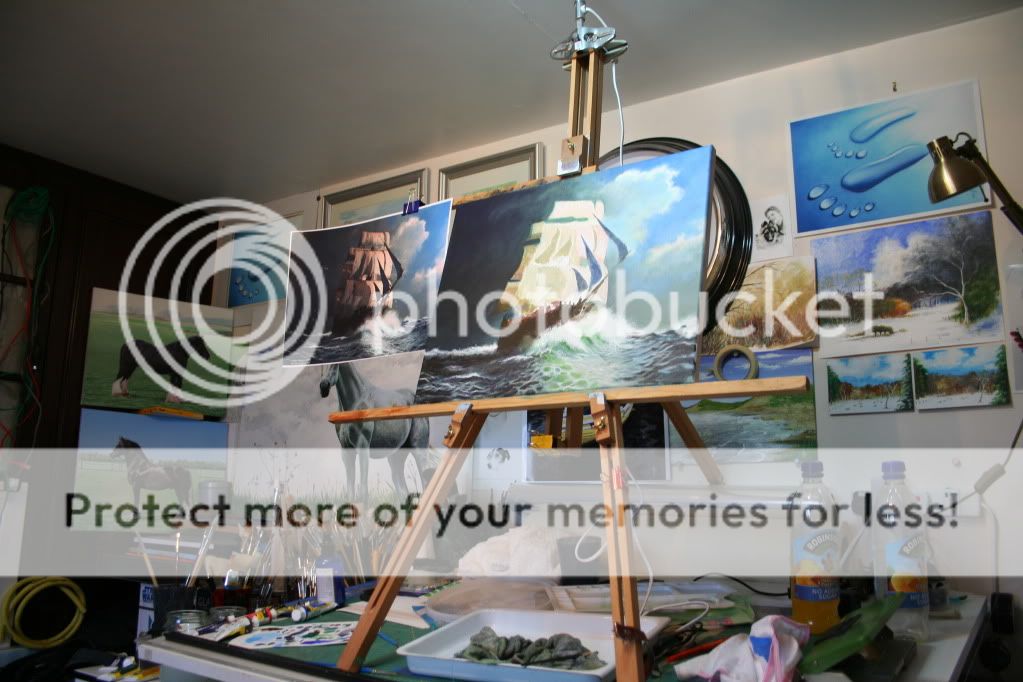
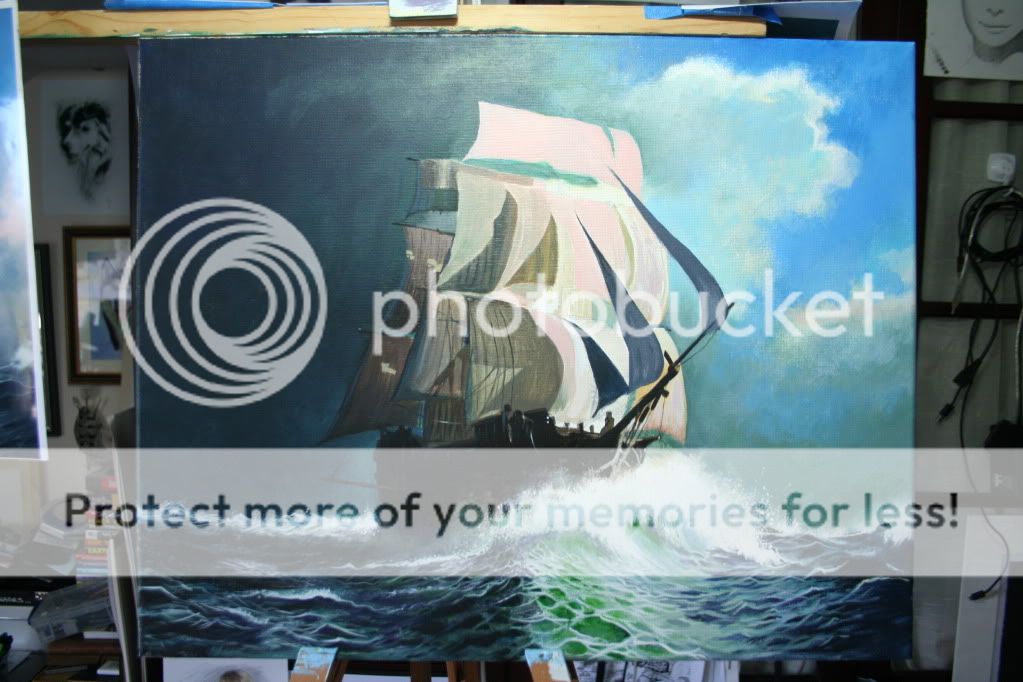
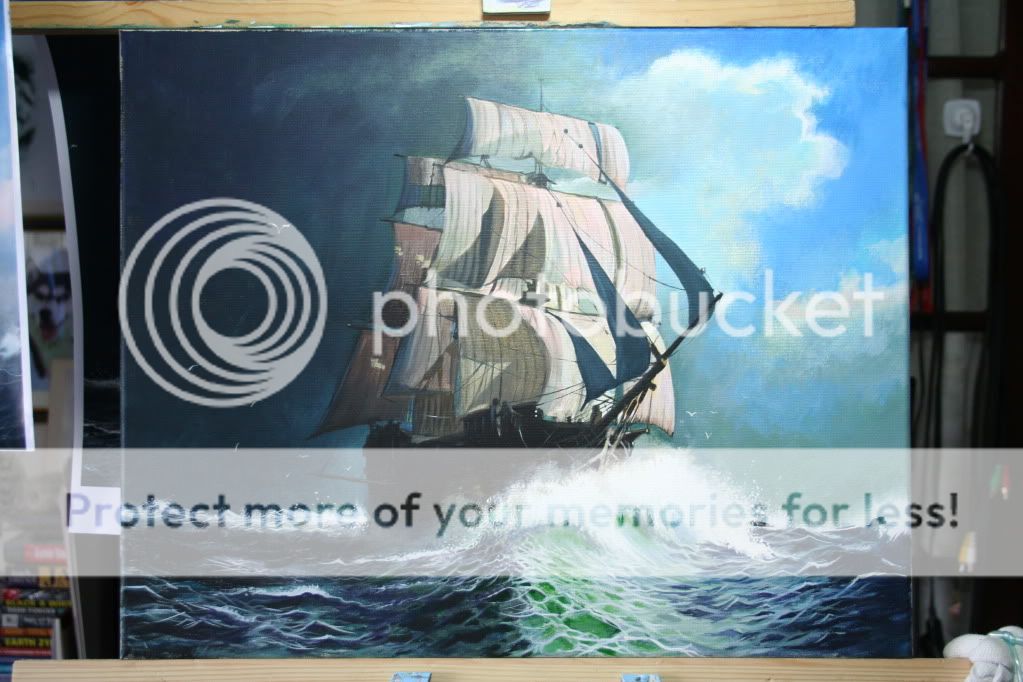
16” x 20” stretched canvas, on a standard wooden easel. I have found that my easel is slightly too small at about 5 foot 6 inches against my height of 6 foot. So my unique solution I’ve found that works for me, is simply to remove the extendable leg sections and then sit the easel onto my drawing table, now it is the right height. I also found that two of the legs come in very handy indeed to wedge the canvas between the two with the top leg section acting as a kind of arm to clip my reference printout to. The reason I clamp my canvas between the two leg sections is also to stop those two horrible white marks you find you get when you finally remove the canvas and have to match the spaces up with the surrounding colours.
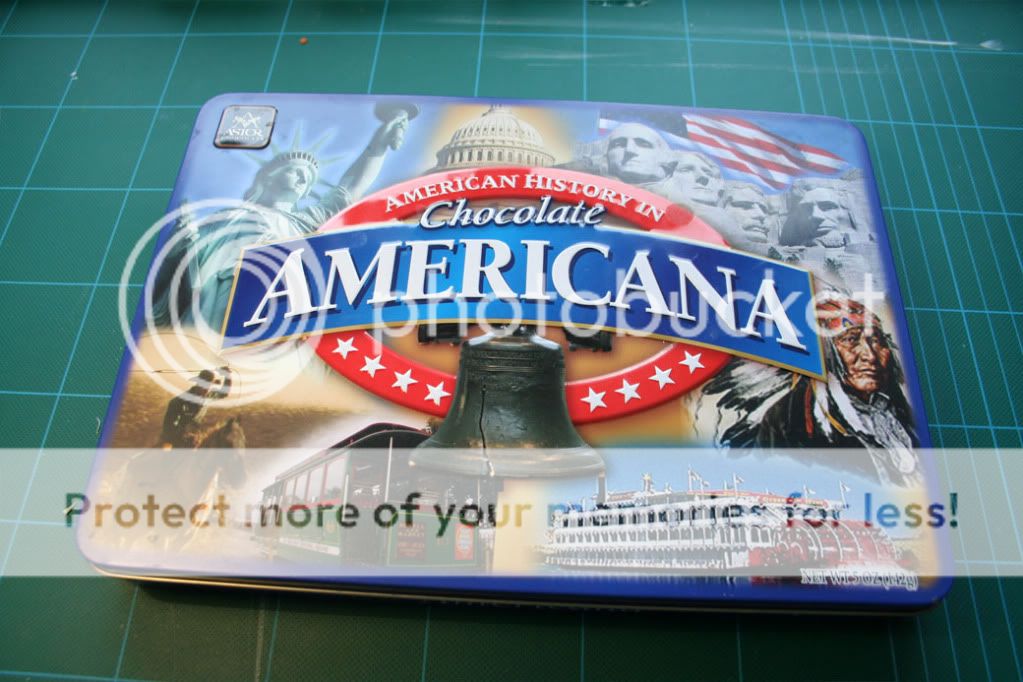
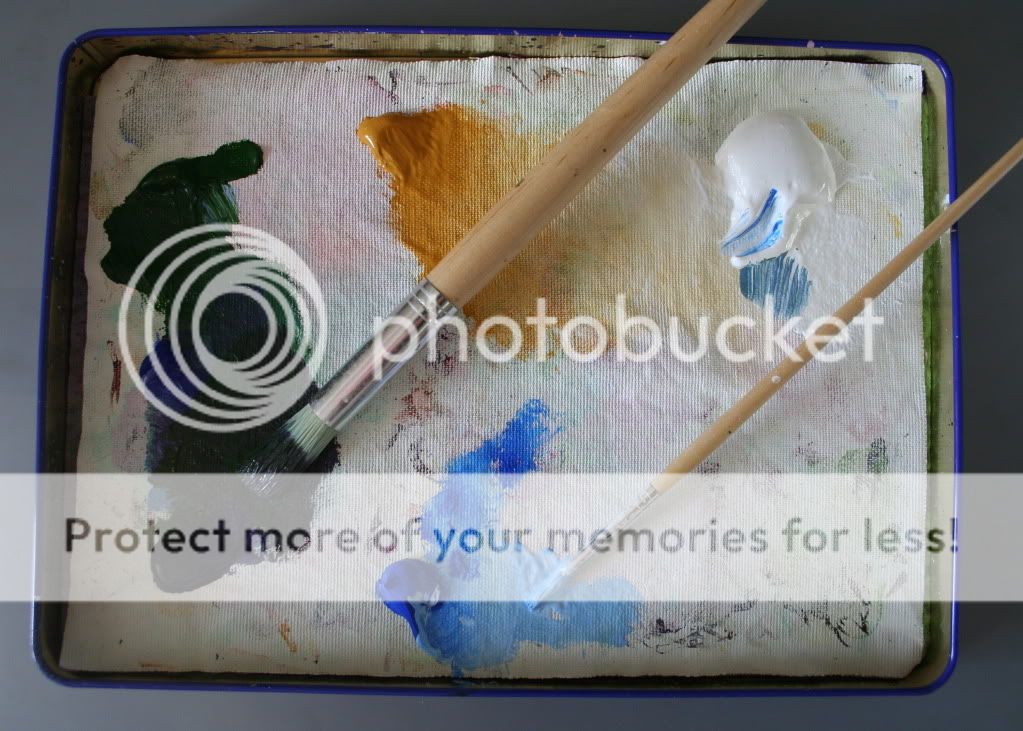
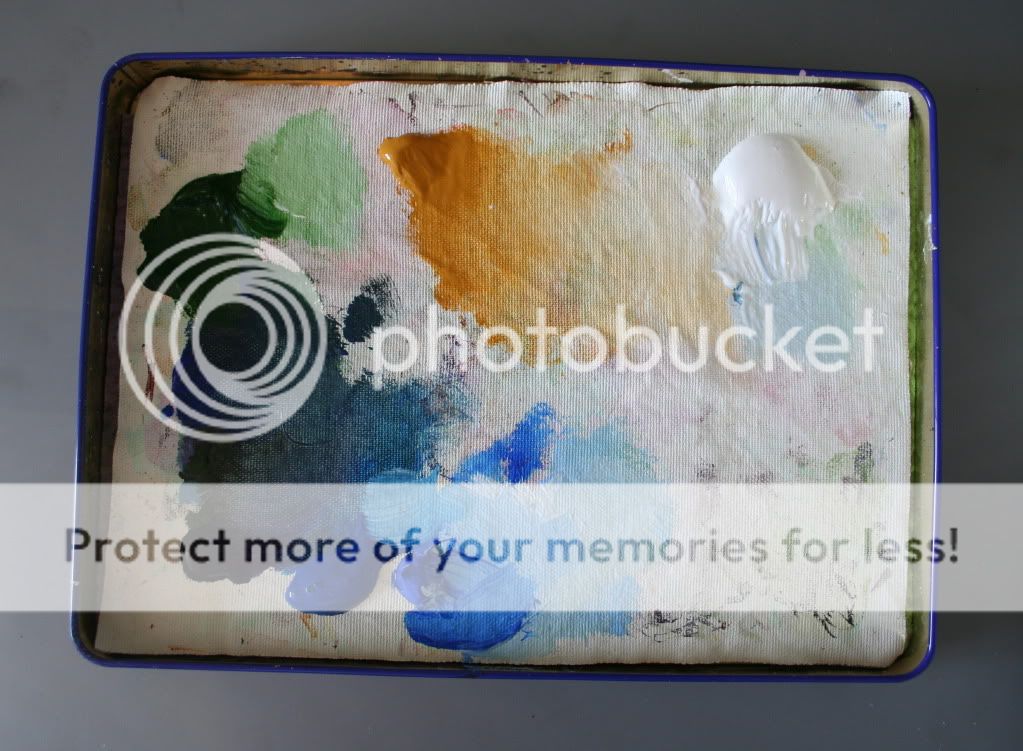
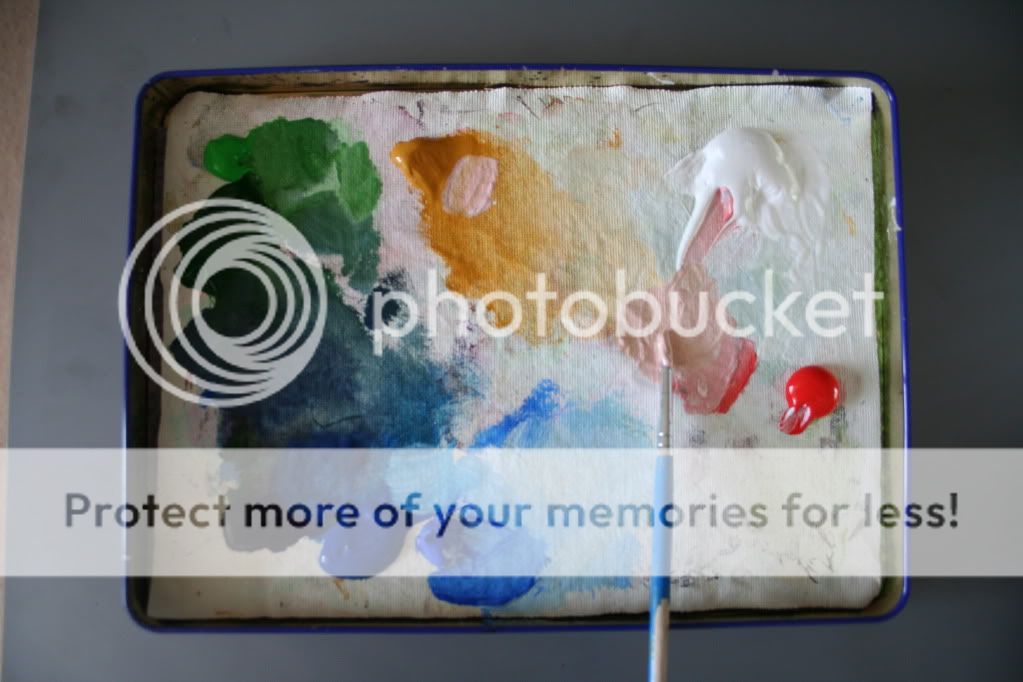
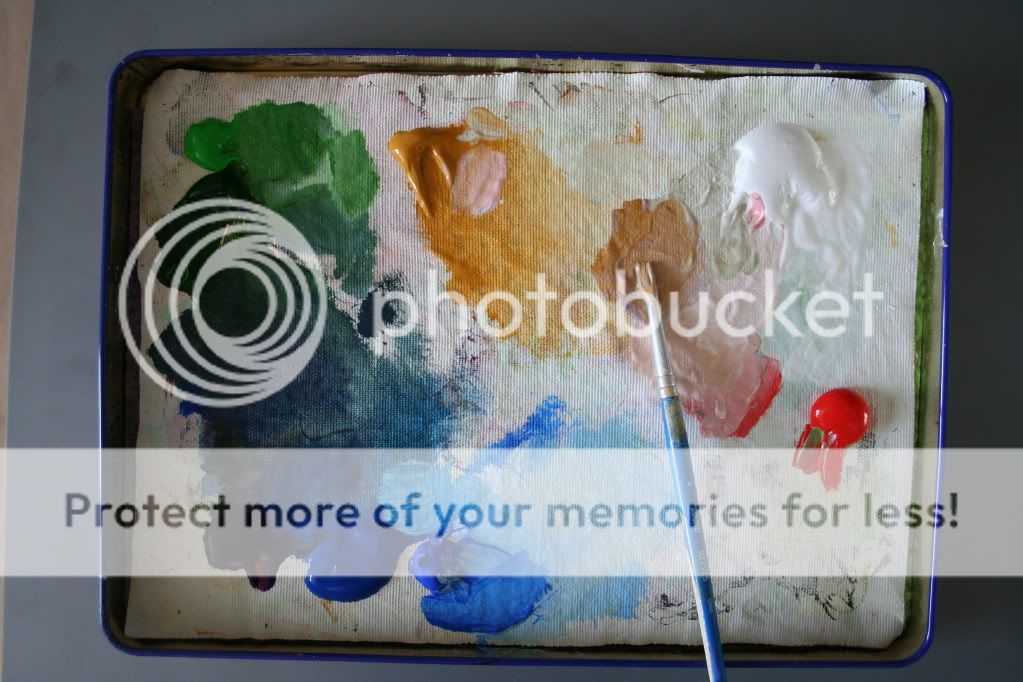
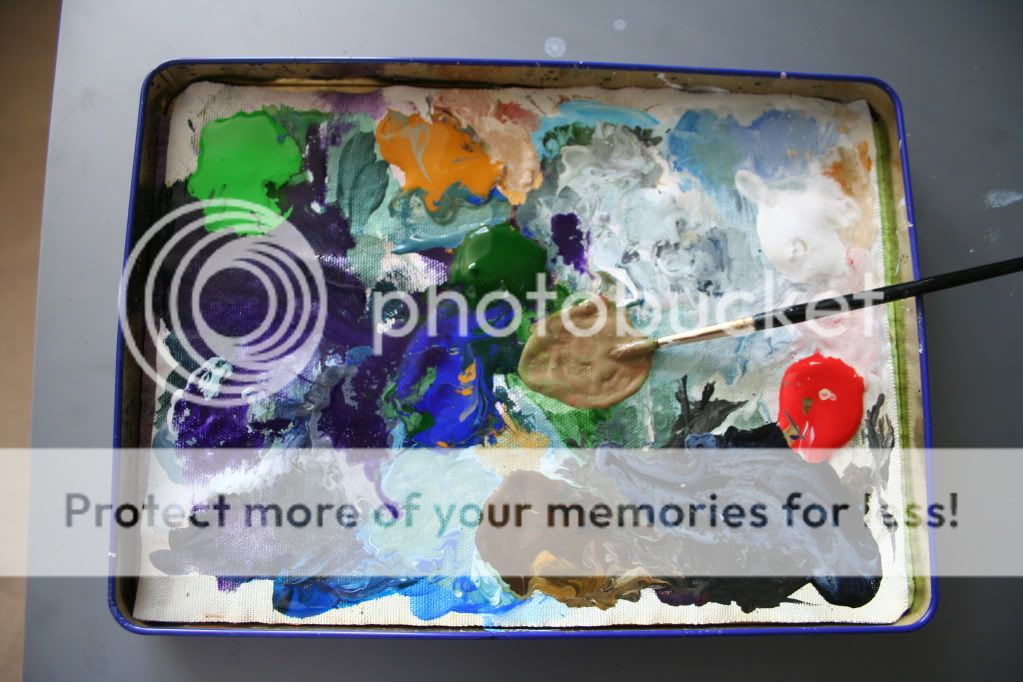
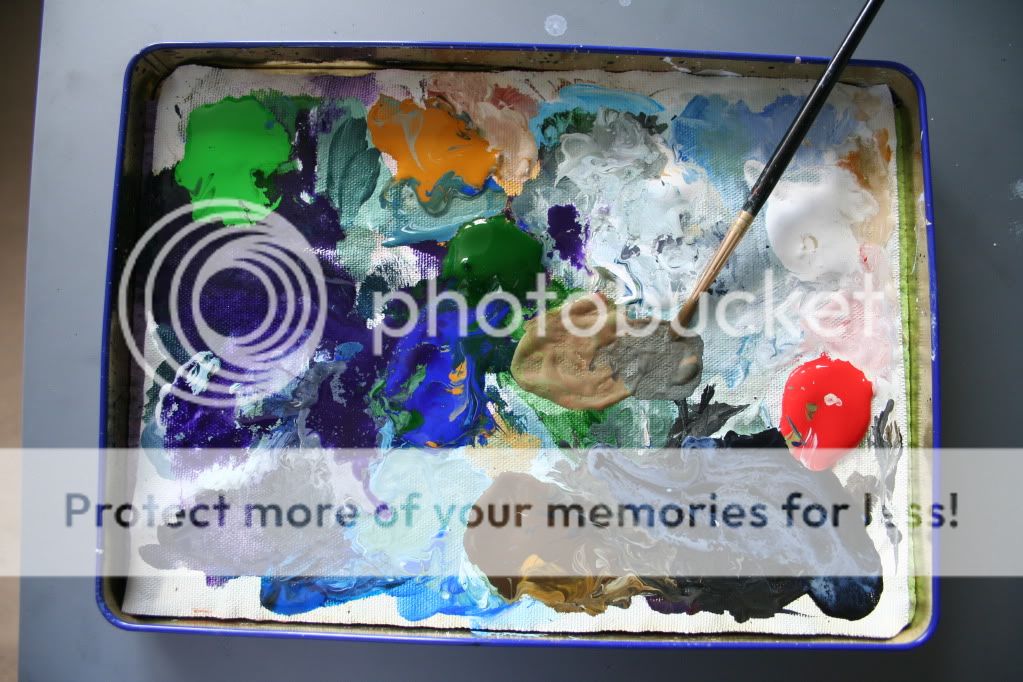
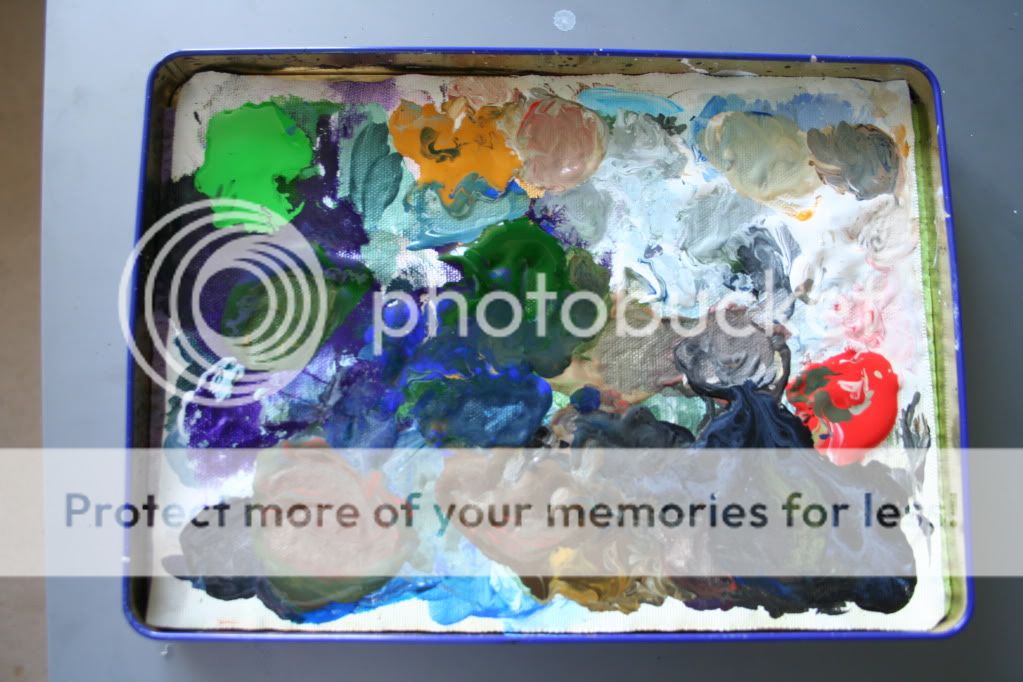
Palette:
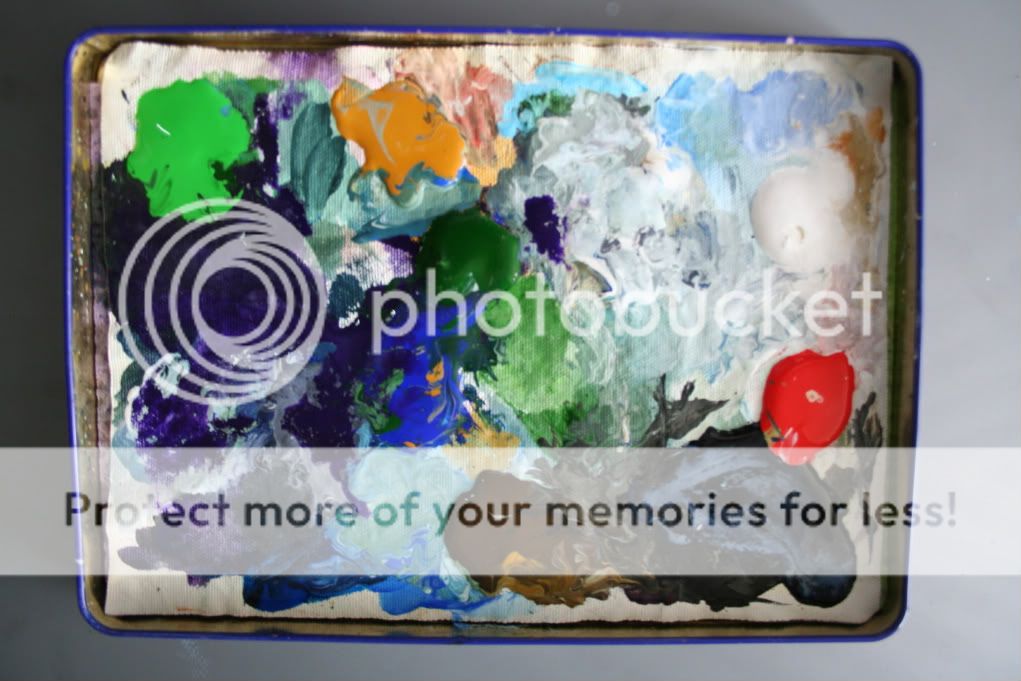
A (very quintessential) Chocolate American tin with a pre cut canvas sheet on top of a thin wet sponge. The wet sponge keeps the acrylic paint from drying out too quickly and together with the de-mister spray bottle of water it lasts well into the second day.
So now that I’m all prepped up, here is the step by step process of how I painted the beautiful nautical scene the Traveller in just over 10 hours over two days.
DAY ONE
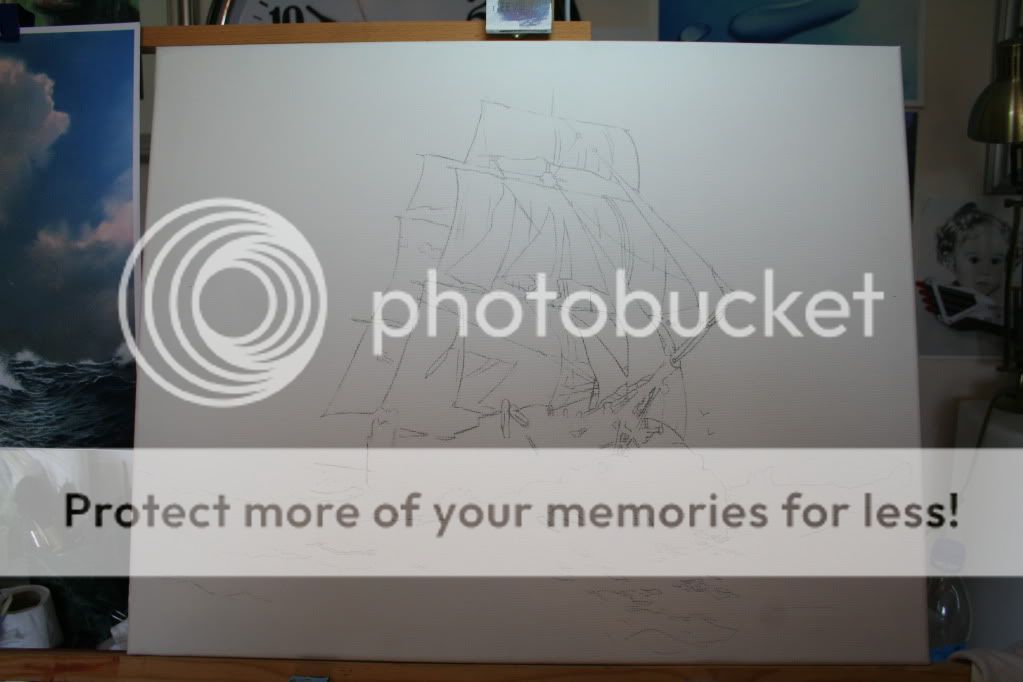
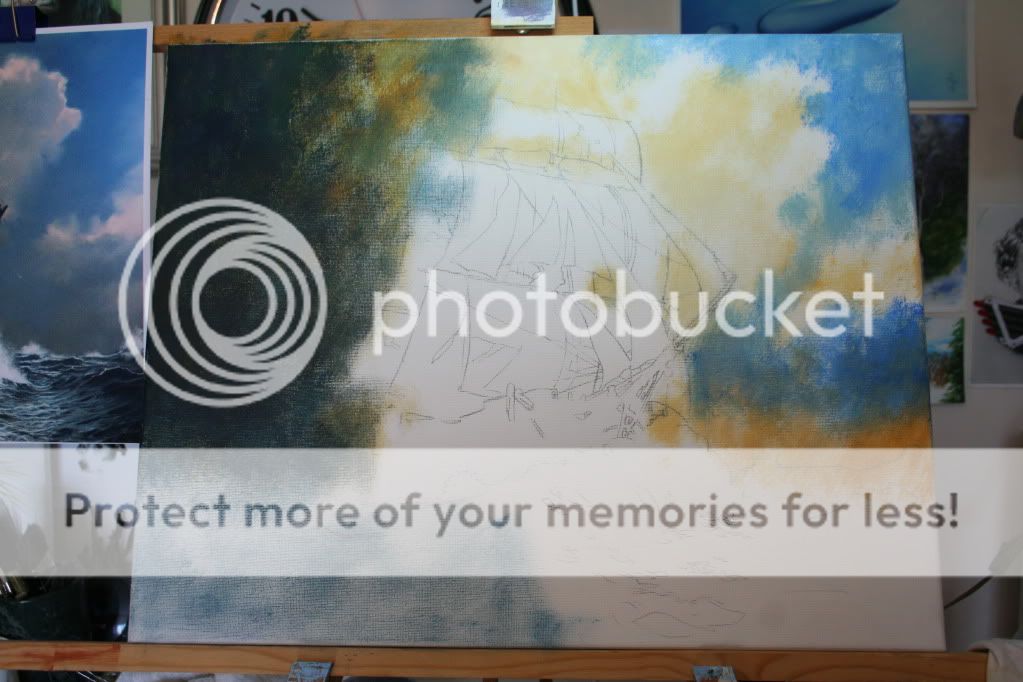
Step 1
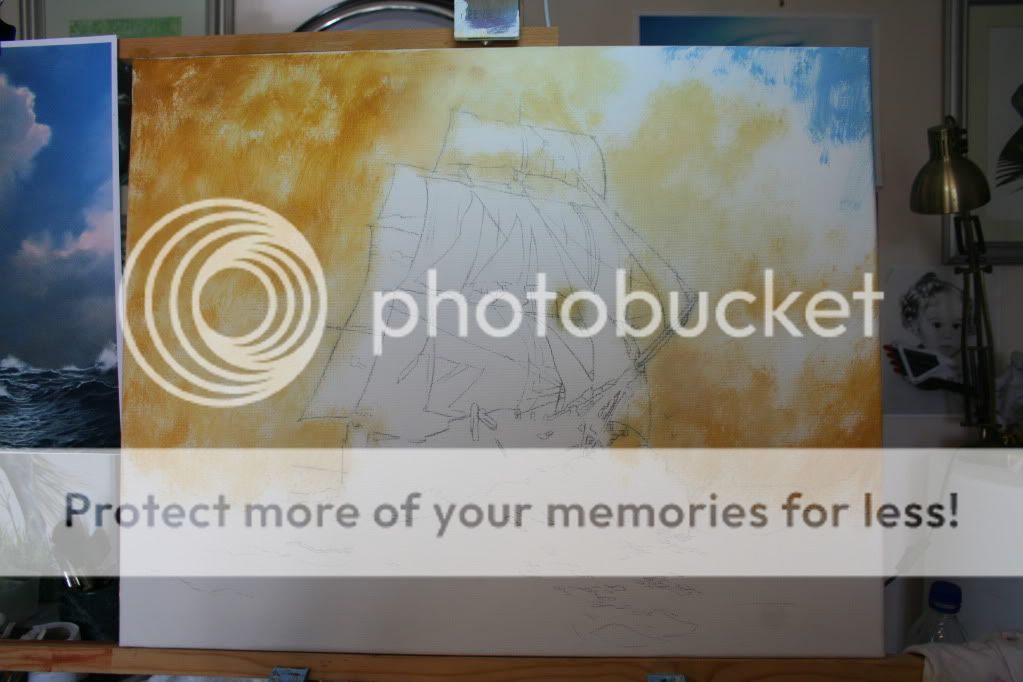
I previous prepared my canvas using white Gesso (giving it two or three coats) and once dried, I traced the rough outline of the ship roughly in the middle of the canvas. I wasn’t too particular about details like rigging lines etc., all I wanted were where the main sails a hull were going to be placed. Anyway, I realised that too much detail in the tracing simply gets obliterated as you begin blocking in.
Step 2
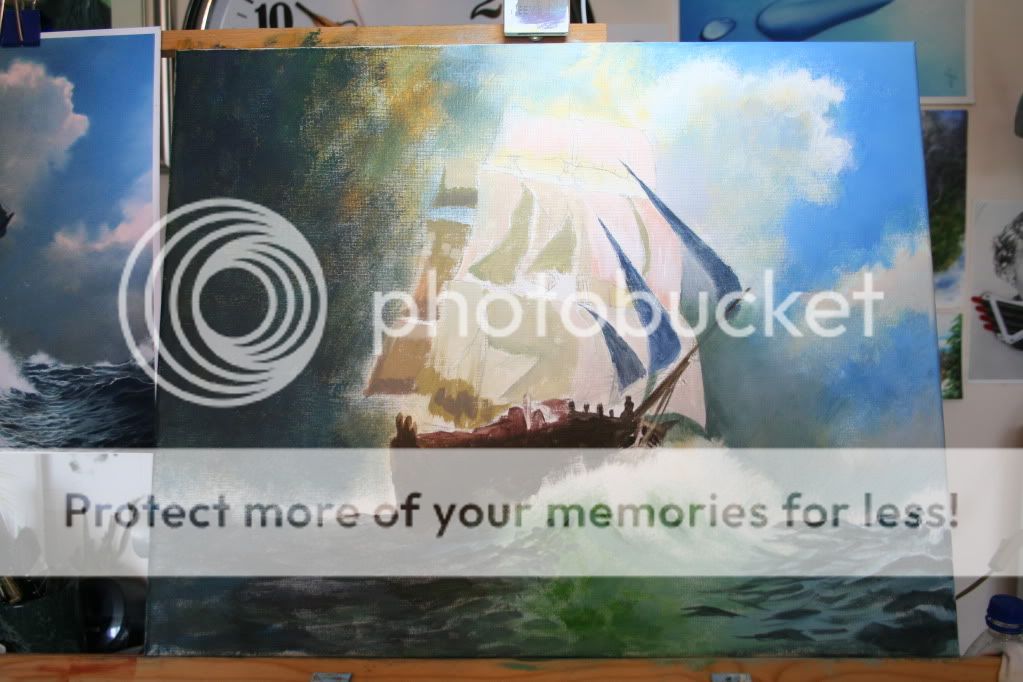
I add a peanut size of Hookers Green, Yellow Ochre and Titanium White and mix the ochre with the white and start getting some paint onto my Hog Hair No.10 brush, the brush, the brush, I first wipe with my wet rag to get get it a little bit more pliable.
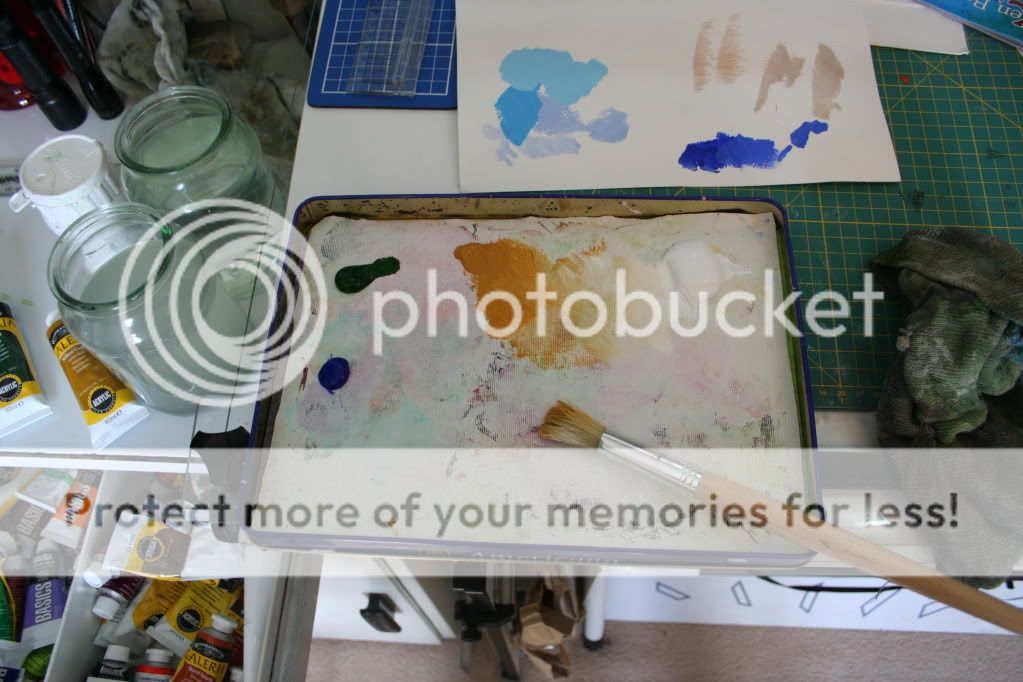
I OK, now with my heart in my mouth I approach my canvas like pressed ganged sailor with a little bit of fear and in trepidation, but mustering up a bit of dutch courage, I start randomly to begin dry brushing the paint into the top left hand corner of my canvas, I am not on making it a beautiful coat or a wash, this is going on quick and dirty.
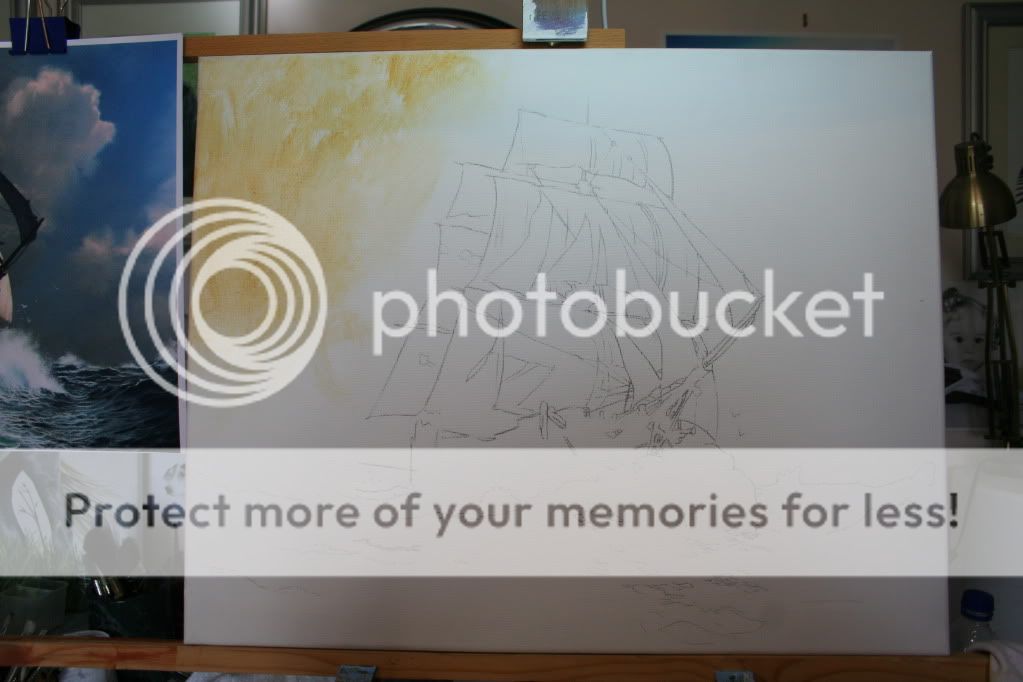
Step 3
Now with a bit of wind in my hair, my confidence rises with each dry brush stroke (I seem to be getting a feeling of being an old sea dog or maybe a pirate even!). I Dry brush my yellow ochre and white mix into the lower right side leaving a good chunk of canvas untouched (this is for the clouds to come in later). I even add a wee dab of my mix into the rigging where I think the sky is showing through.

Step 4
Back to my palette, I add a peanut size of Cobalt Blue and take a little Hookers green and a touch of Ultramarine a pinch of White and mix up a dull greener blue mix I then blend a little of this new mix with the cobalt blue and the white with my smallest hog hair brush and somehow arrive at (more luck than purpose I suspect, but isn’t is the magic of learning how to paint right?) a blue sky for that top right corner.
Step 5
Now using the largest hog hair brush recently wiped clean with my wet rag, I return to my palette and start a new mix between the Hookers Green and the Ultramarine and find I have to add a peanut flavour of the Dioxazine Purple (this really sounds almost hallucinogenic doesn’t it?) I’m looking for that really dark foreboding storm colour (do people still say foreboding? maybe it’s because I’m about to introduce a storm cloud).
Step 6
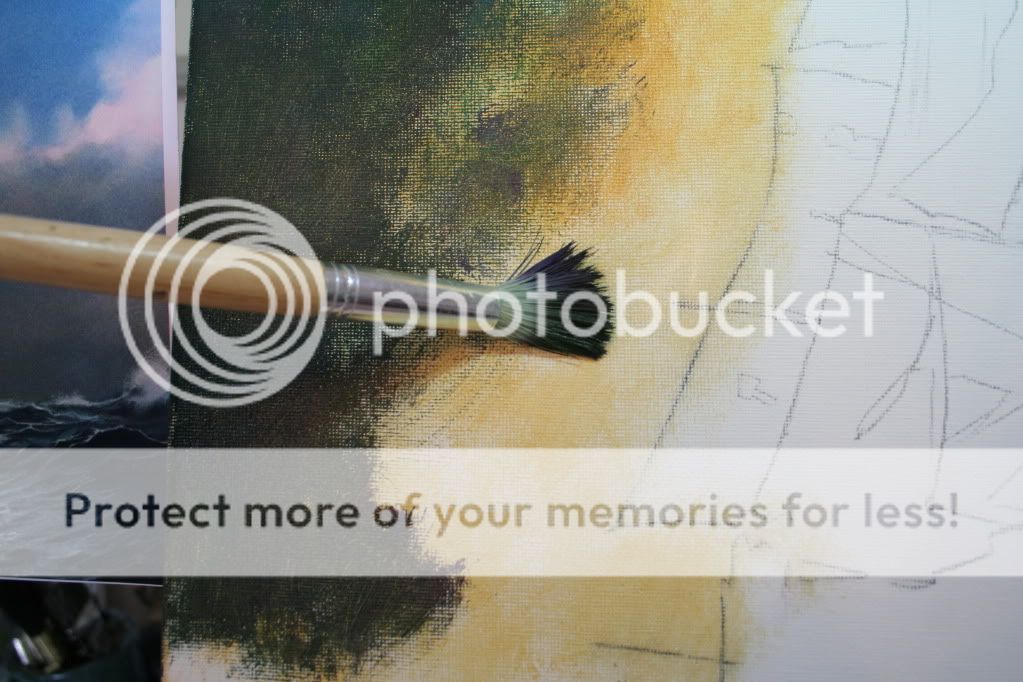
Using the large No.10 Hog Hair brush, I begin introducing this ghastly green mix into the canvas from the top left corner, working downwards.
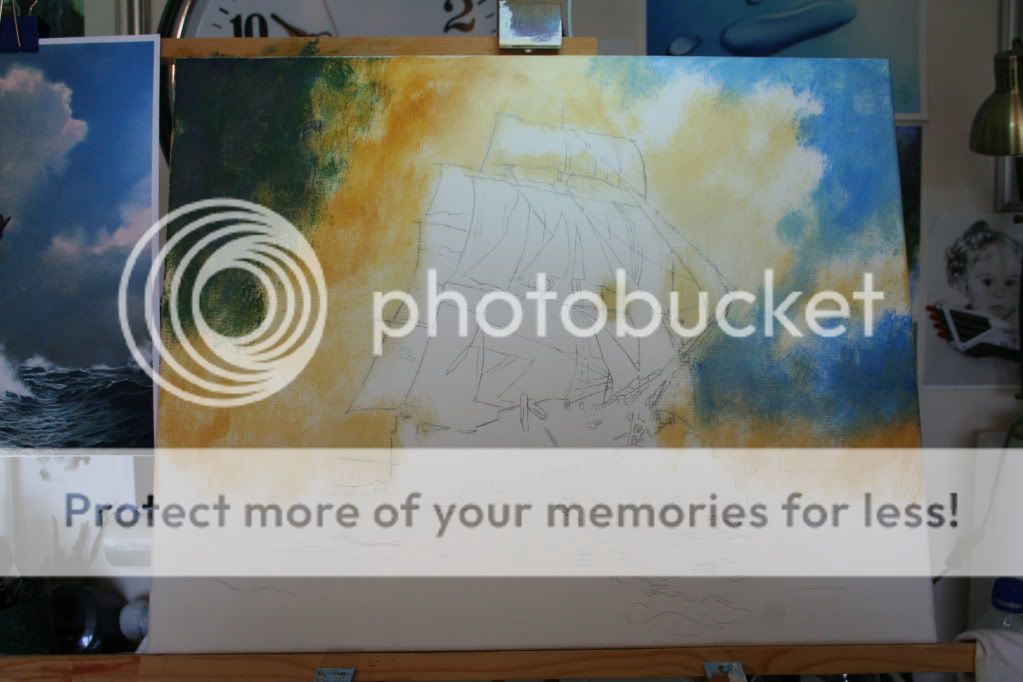
Step 7
I quite vigorously continue to apply this really green mix, down from the top left hand corner of the canvas, applying a dry brushing technique by turning the brush left and right, I am slowly but surely adding this darker tone colour into the canvas while at the same time leaving some yellow ochre mix showing through. This darkness continues to the top of the ship but fades out halfway across. I continue up to the hull stopping at the horizon.
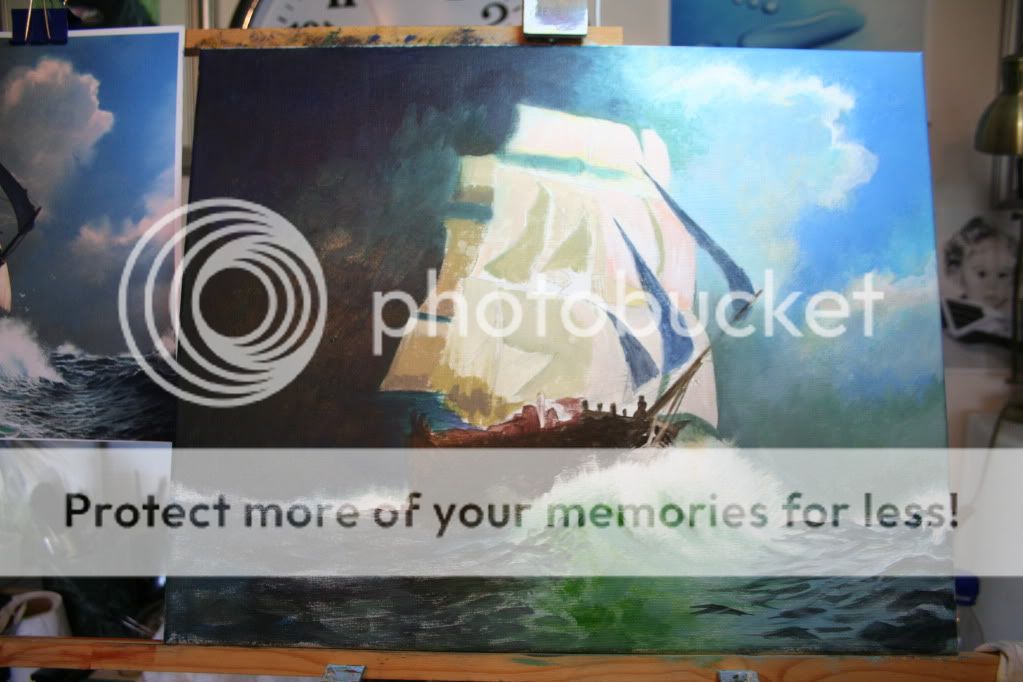
Step 8
I’m now really getting into this painting scene and now I need to start blocking in the rough sea. The colour I’m looking for starts with mixing the cobalt with white then pushing through into the storm cloud colour I mixed up earlier. I keep fishing around on the palette till I get a darker sea colour I’m looking for.
When I have the colour I want, I start dry brushing it into the canvas starting from the bottom left corner, stopping about halfway.
Step 9
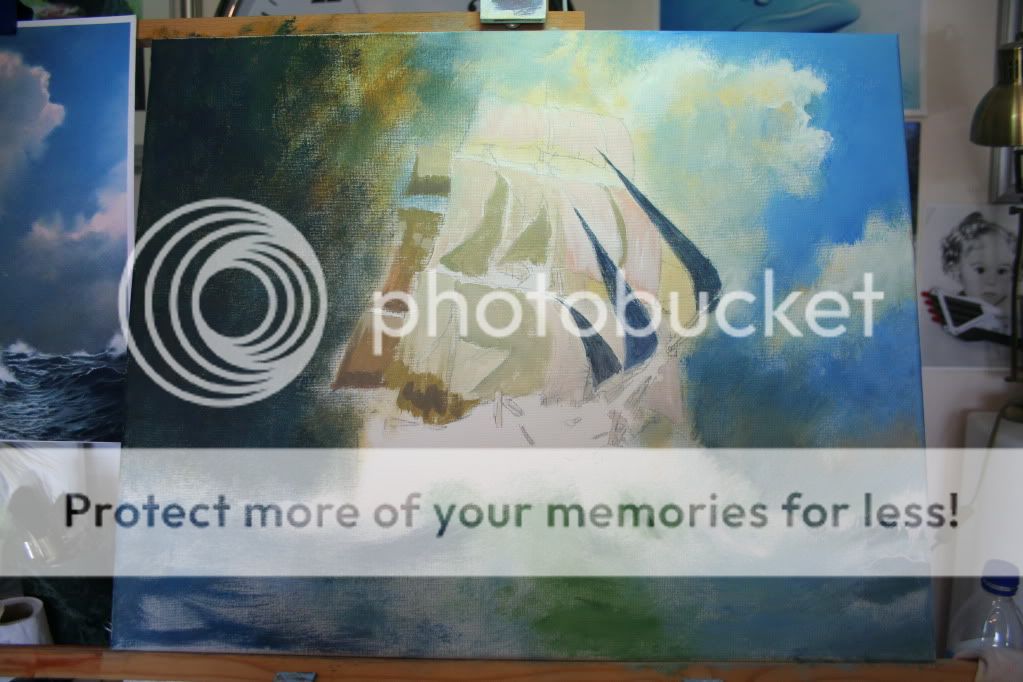
I’ve decided to try and balance all this darkness and despair I’ve been painting by moving over to the right hand side and into the top right hand corner, mixing a pale blue for the body of the clouds and dry brushing this blue into the clouds leaving a yellow ochre mix showing at the edges. I’m trying to get that white blue cloud which still has some body of substance to it, not as deep as the storm clouds on the other side of the ship, these are happier fluffier clouds. I can see that the ship is going to anchor itself between these two states of dark and light (I’m so sorry, but I just can’t seem to stop these nautical puns!).

Step 10
Using the rigger brush (no pun intended here, it actually is called a rigger brush LOL), I apply a thin lining arc to the top most edges of the main cloud.
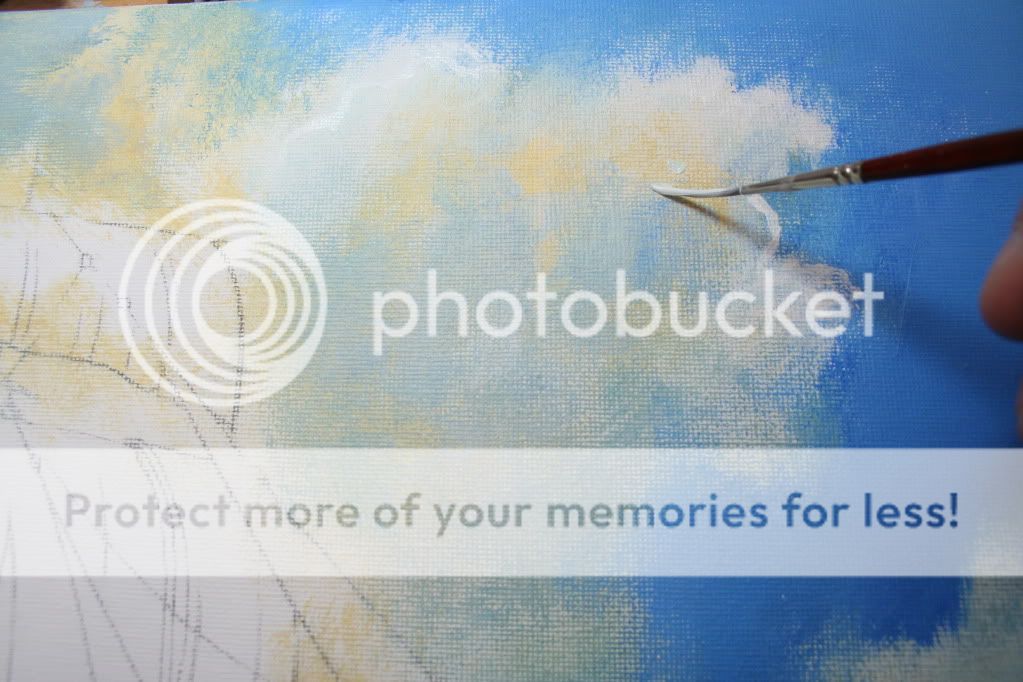
I want to strengthen the edges of the clouds on this side, with some light fighting back.

Step 11
I return to my palette and start mixing a bit of the Titanium White into the Hookers Green, I’m now looking for that rich underwater green surge that I want in the centre of the main wave, you know the colour you dream of seeing whilst surfing on a beautiful Hawaiian or Australian beach.
I quickly add this green into the centre area of the sea and at the same time grab some darker blue from within my now fluid palette and blend in some water on each side of the green surge. I also try adding a few darker blue strokes at the base of the ships hull and to the edges of the sea on either side of the canvas (I can almost hear Enya singing Orinoco Flow in the background, listen, LOL). I also start adding a light Titanium Yellow Ochre mix to the two sails on the far right of the ship
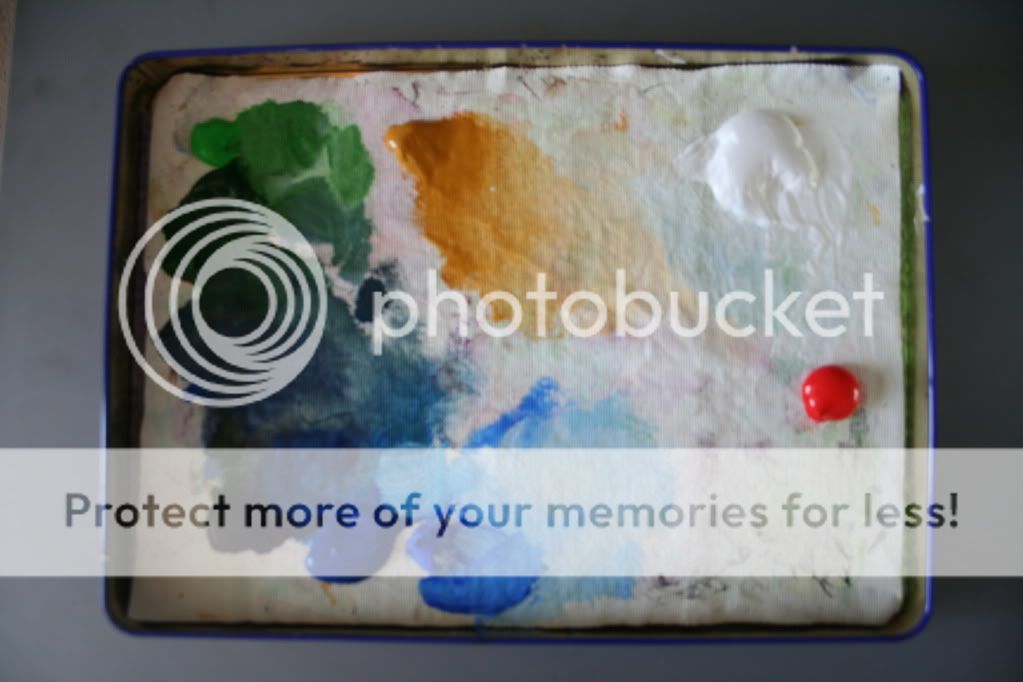
Step 12
Being a bit adventurous now I add a peanut size quantity of Cadmium Red Medium and using the small round No.4 brush mix a pinkish colour betwix (a great word that, we need to use it more, all who agree say Aye, Aye Captain!) the Titanium White, Yellow Ochre and this shiny new Red, till I get that wonderful pink sunset colour.
Step 13
I start picking out a couple of sails I started earlier with this pink, brushing with down strokes and adding a slightly darker red pink at the base of the sails, using white, whilst still wet I blend in some hi-light into the tops of these sails. A also start blocking in these three striking forward sails in a darker blue but still very rough, nothing definite.
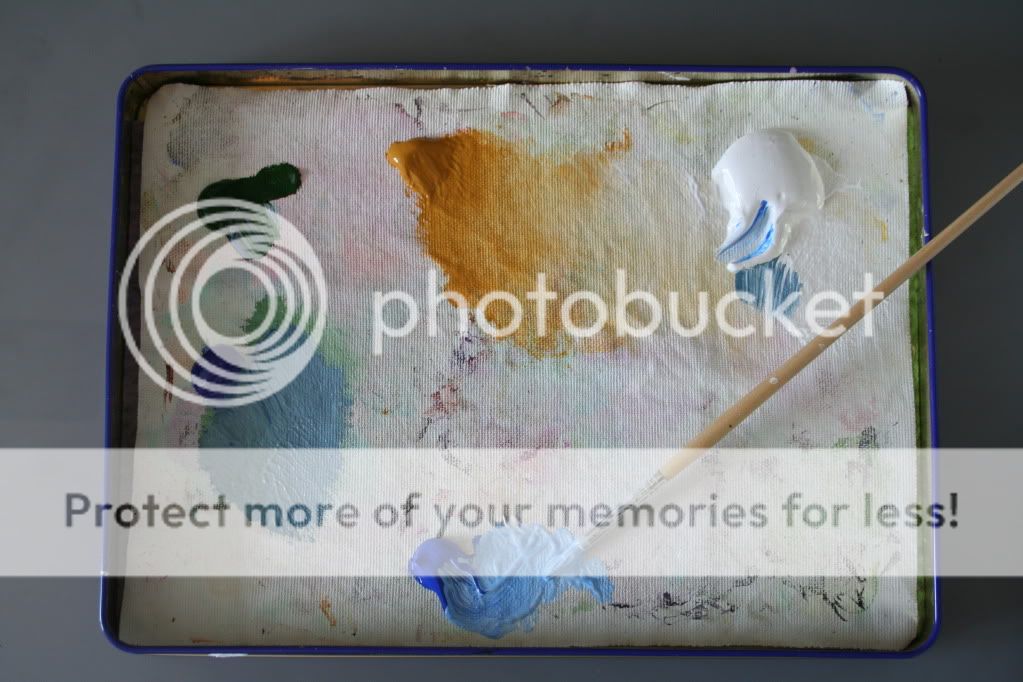
Step 14
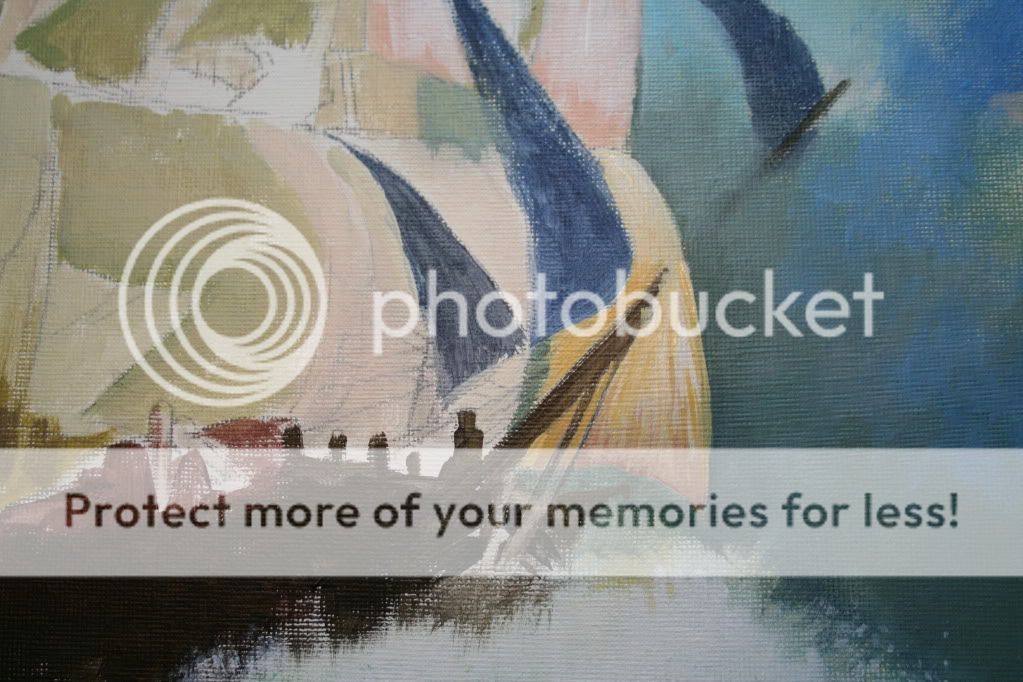
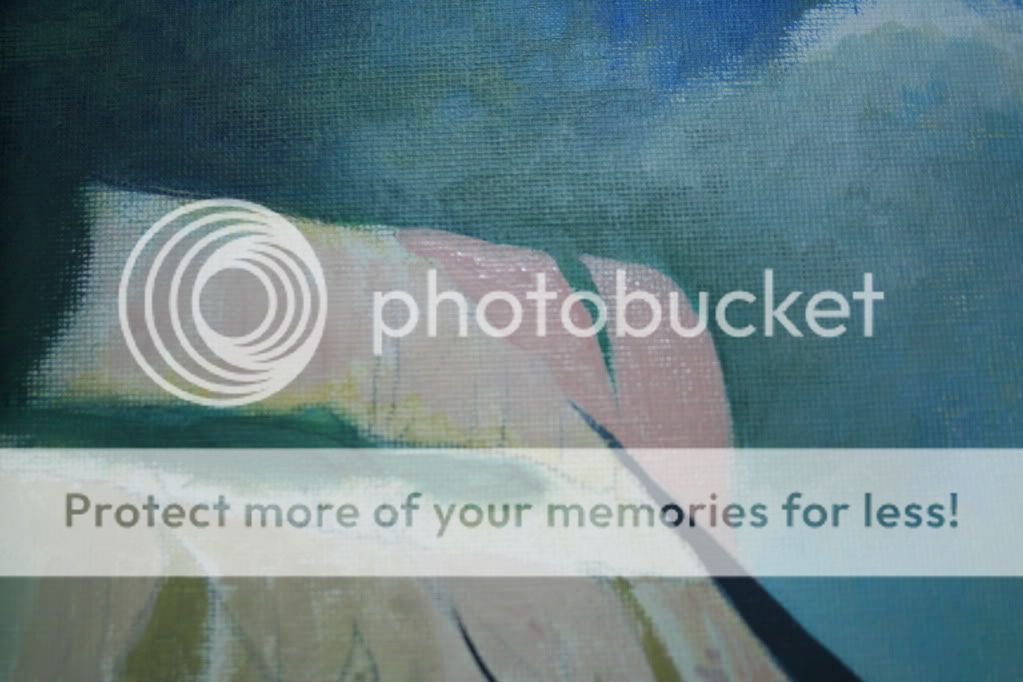
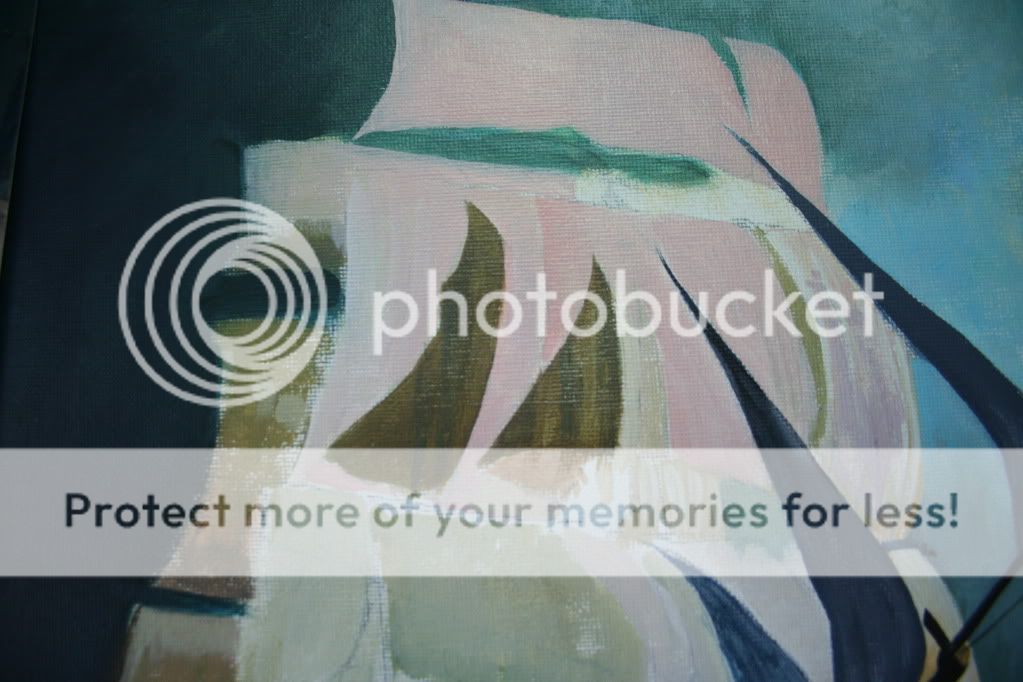
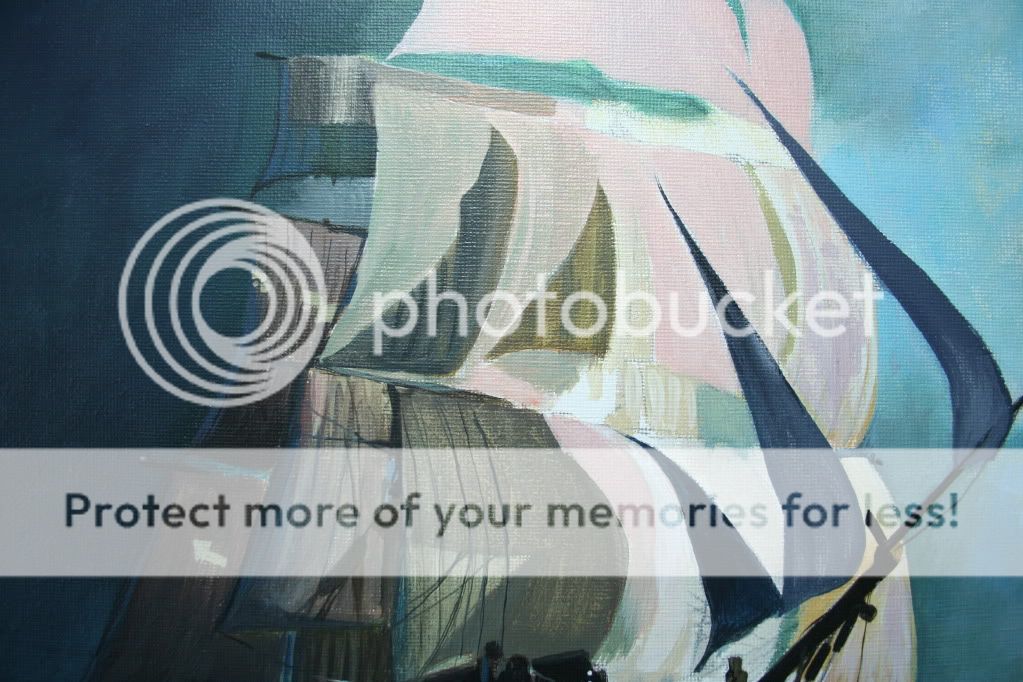
Back on my palette I start a new mix betwix (see I just had to use it again!) the Ochre, White and the Red with a splash of green till I gel a wonderful canvas hue (see below) and with this colour I start painting the main sails adding darker green sections where the shadows are going of those three main blur forward sails.
Going back to the canvas colour I’ve just mixed I add more of the red to give it an earthier tone and start working on the sails on the dark side of the painting. Again adding more red to darken the bottoms of these sails. I’m not really taking to much care blocking in these sails in the first stages. I am also seriously beginning to lose my pencil marks (see, I told you!). I also add a hew dabs of lighter canvas tones onto a few protruding pieces of hull.
I paint in the top sails a very light pink tone and notice now that the whole ship is tarting to look like a bright pinkish lantern at sea, this is great as I want to show that the sails are reflecting the pink sunset which is behind and to the right of the viewer.
Step 15
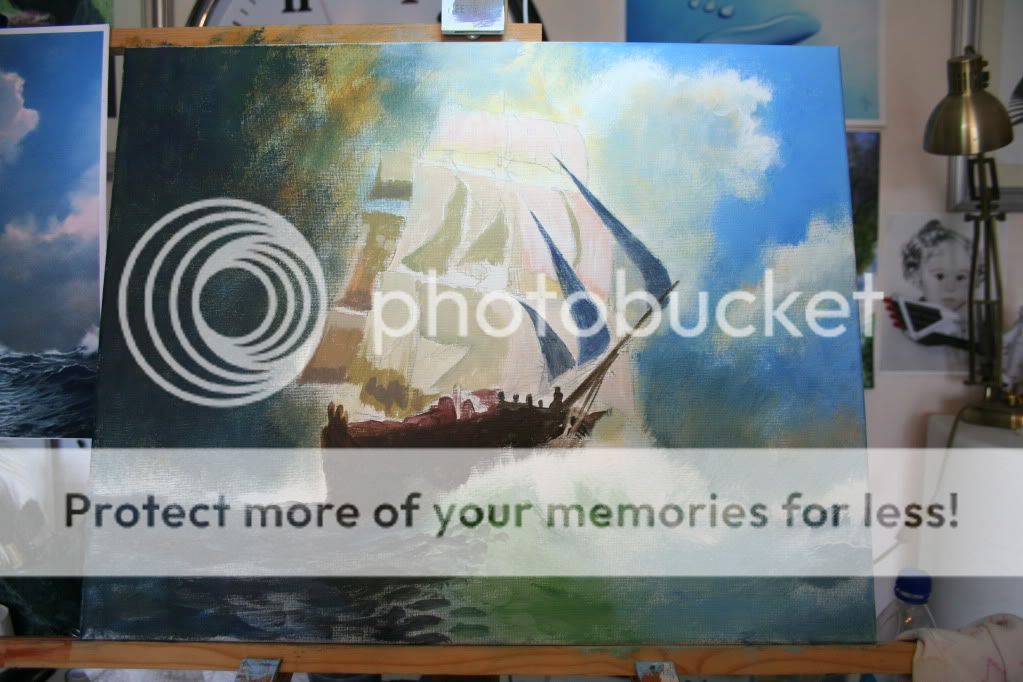
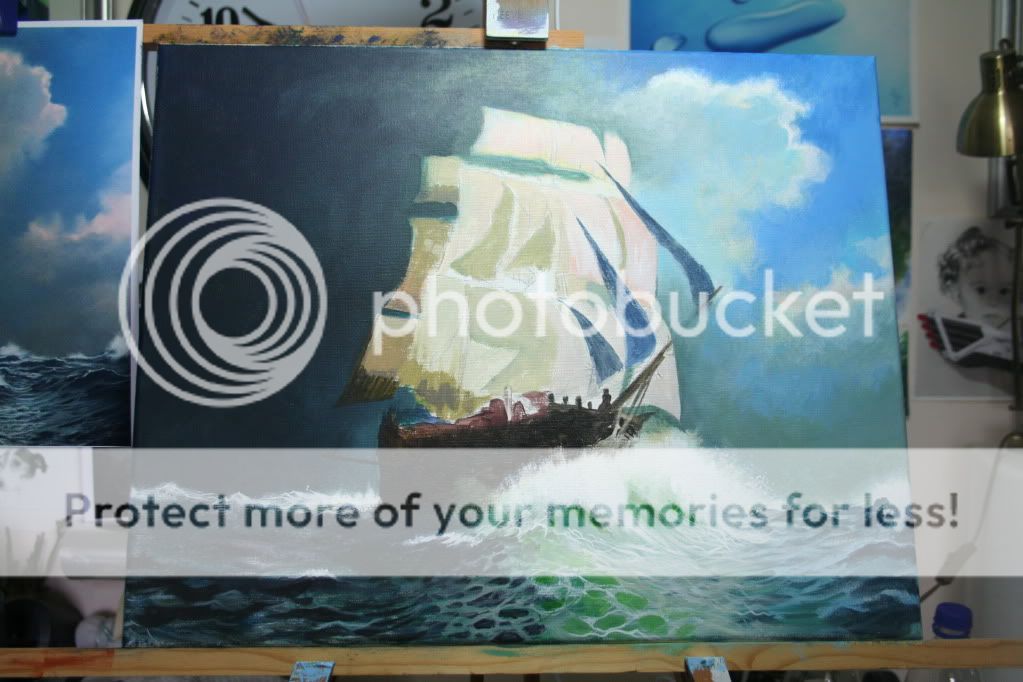
I am now introducing two more colours to my palette, these are Raw Umber and Mars Black. Now taking a smidgen of the Dioxazine Purple I start by mixing a darker purple-ish blue

With this new purple/blue mix, using my filbert brush, I now start painting a few dabs or puddles of colour sweeping up from the left side into the dark side of the surging wave, I try to make the dabs go smaller at the top nearer the hull of the ship (to give distance). I also lighten the mix with some green and white and try a few greener dabs near the bottom of the canvas and at the apex of the wave as well as a couple of darker shadows underneath two of the turning wavelets (have I just invented yet another word?). I added darker navy blue strokes using the large hog hair onto the waves on the dark side of the sea up to the horizon.
I also begin to paint the hull with an initial dry brushing initially with the Raw Umber for the front and back of the ship (the bow and stern? – I don’t know which is which, sorry!) and then using a mix of the raw umber with both the red and purples on my palette I paint in the main body of the hull. I use the Raw Umber for the pointy bit at the front of the ship (apologies to all you sailing folk, this is so so embarrassing when you don’t know what these “bits” are called).
Step 16
I’m concentrating on the darker colours in the bottom right hand corner of my palette, mixing betwix the black brown and purple, this gives me a wonderfully deep blue.
I now pick up my flat No.4 and with this dark blue mix, start painting in some deeper shadows in the foreground of the waves to the right hand side of the sea, taking care not to to paint too much, this side has to still be blue in colour but not as dark os the other side. I also try the filbert brush for the smaller darker waves near the horizon
Step 17
Now is the time were only the real intrepid sailors dare voyage, yes, you’ve guessed it, into the dark side, that dark and foreboding (there’s that word again!) storm clouds. I use the same dark blue mix that I was using in the bottom right hand corner of the canvas, but now in the top left hand corner of the sky (like am I doing a diagonally opposed painting). I paint in a stronger area in the top left corner and dry brush downwards towards the horizon, but at the same time still try to leave something of the original ochre layers coming through, just enough as to give a hint. I diagonally oppose that patch of sky with a warmer greener grey (almost battleship grey) on the right hand side of the canvas near the horizon (this gives a wonderful soup green colour against the blue waves divided only by the white of the waves on the horizon. I carry on painting with this warmer grey using a smaller round brush) up to a straight painted line of the lower right hand sail just below the pointy bit at the front of the ship (what is that called?)
Above the top most sails where the light and dark meet, I paint in some different degrees of blues and paler blues even going into a light turquoise blue, which I continue into the clouds on the right of the ship. I pinch a bit of that warmer grey from the right hand side horizon and paint it on the right of the top most sail.
Step 18
Using my large hog hair, I start blending in some more blue into the dark side of the sky. I also begin in earnest to define the foreground waves on the left side, using my rigger brush with darker blues hi-lighted with lighter green blue around a few of the puddles that that rising wave forms, as well as picking out some hi-lights to foreground waves. I play around with the white spray at the front of the ship (making it come more onto the sea and higher up on the left).
Step 19
Now I’m giving all my attention to the waves, their patterns in the green surge and the shadows in the foreground, I am trying to make these waves flow, which is harder than it looks, you have to paint in the direction of the waves, as to go against them you will surely perish in the attempt! (so sorry about that one, it has been a long day).
I bring in hi-lights on both sides of the mighty wave and then push some of it back by going over with blues and green. This bit, I’m finding really intense, as whatever I paint impacts upon it’s neighbor, in fact it is a race to keep in front of this fast crashing wave (I suppose this is how a dolphin must feel running in front of a fast moving boat – hmmm painting nautical scenes really gets your imaginarium of juices flowing (now how on earth did the film Dr. Pharnassus come into all this? I must be getting tired). I also add a couple strands of rigging under the front section.

Step 20
Okay the light is starting to go, and I must be near to bringing todays painting to a close, but not before I do, I must just paint one sail, yes only one, otherwise I’ll never get to sleep, will I? I start on that bottom right sail and paint in some yellow ochre with a few lighter brushed high-lights. I finish off the sail with a few touches of red-ish brown on the bottoms of the sail. Me thinks it needs a bit more pink in these sails (me thinks! – I had better stop here before the transformation into Captain Jack Sparrow is unreversible).
Step 21
I keep giving extra attention to the great wave, I keep redefining the honeycombed patterns around the green swells.
Step 22
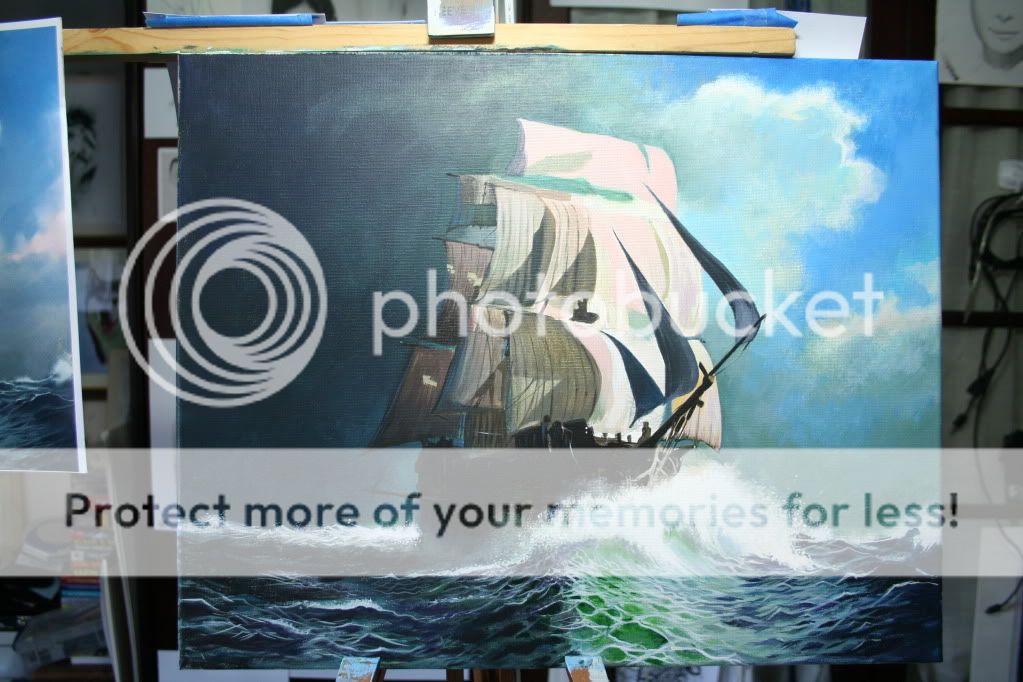
I just can’t seem to leave this painting alone, as I add a bit more rigging under the front pointy bit. I also start to define what looks like a canon or prominent deck section at the front of the ship. Okay, i’m going to have to call it a daw for the time being, I’ve been painting for just over five hours now. Time for a break.
Thank you for your time, hopefully, I’ll see you all tomorrow.
DAY TWO
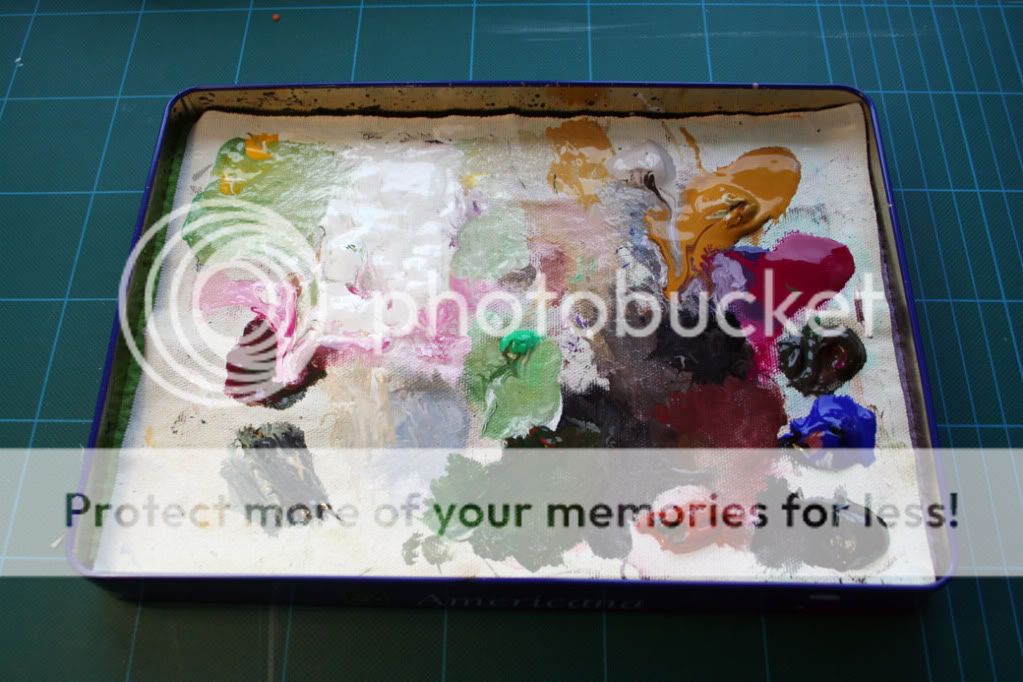
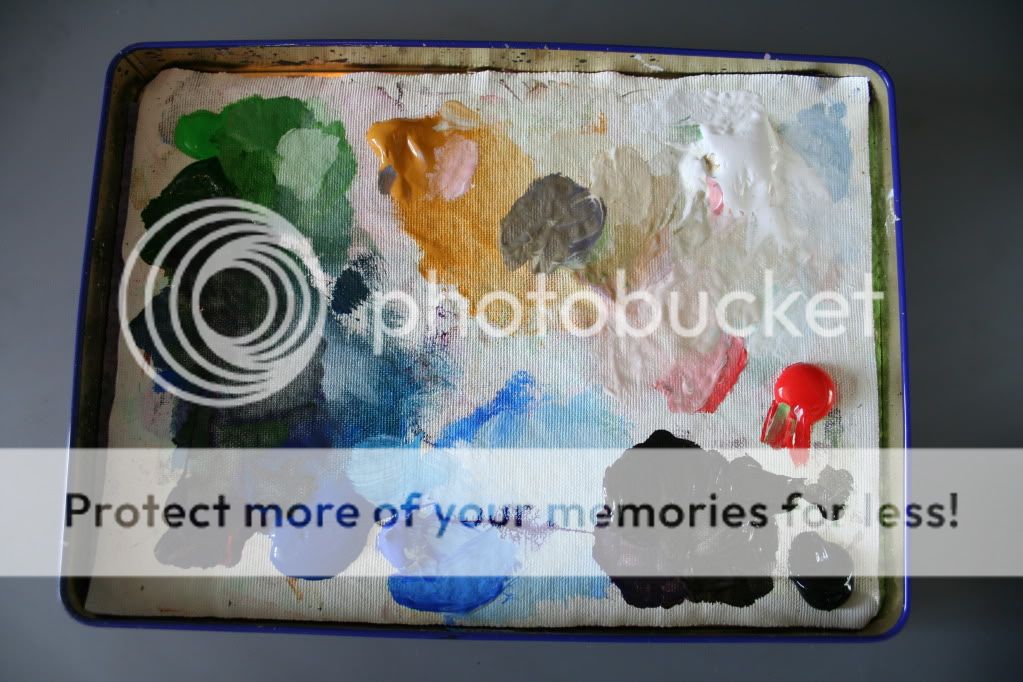
Next morning I rush into my studio, happy to see that my hearty wee ship, still crashing through the waves and I eagerly open my palette tin, yuk! it has all started to settle into some kind of psychotic artistic nightmare (maybe I should enter this palette for the prestigious Turner prize instead, what do you think?). Not to worry, today is the day of the little brushes, I decide that bigger brushes will only be used if I really need them. Anywhoo, the palette is beautifully set up now for me to simply dip my smaller brushes into it, picking any of the myriad of colours flowing in the rainbow currents before my eyes (hmmm this nautical infection is starting early, best press on).
Step 23
I see a wonderful pink flow in palette betwix the white and red, and eagerly dip my pointed No.6 brush into this rainbow palette and start painting in the top sails, starting from the right. I then carry on painting the pink into the second tier of sails.
Step 24
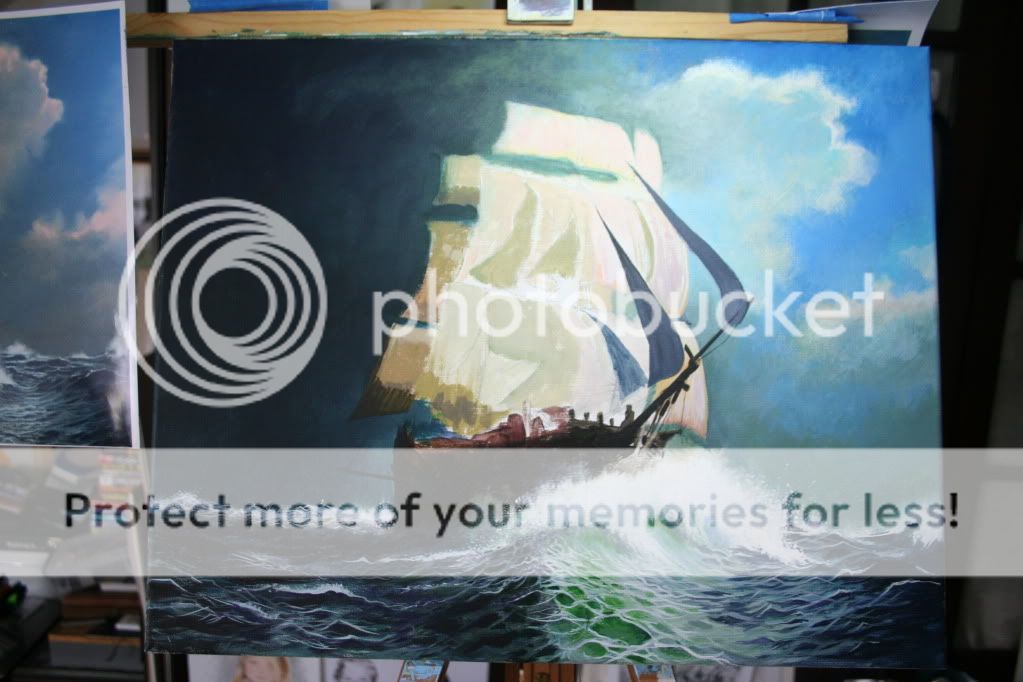
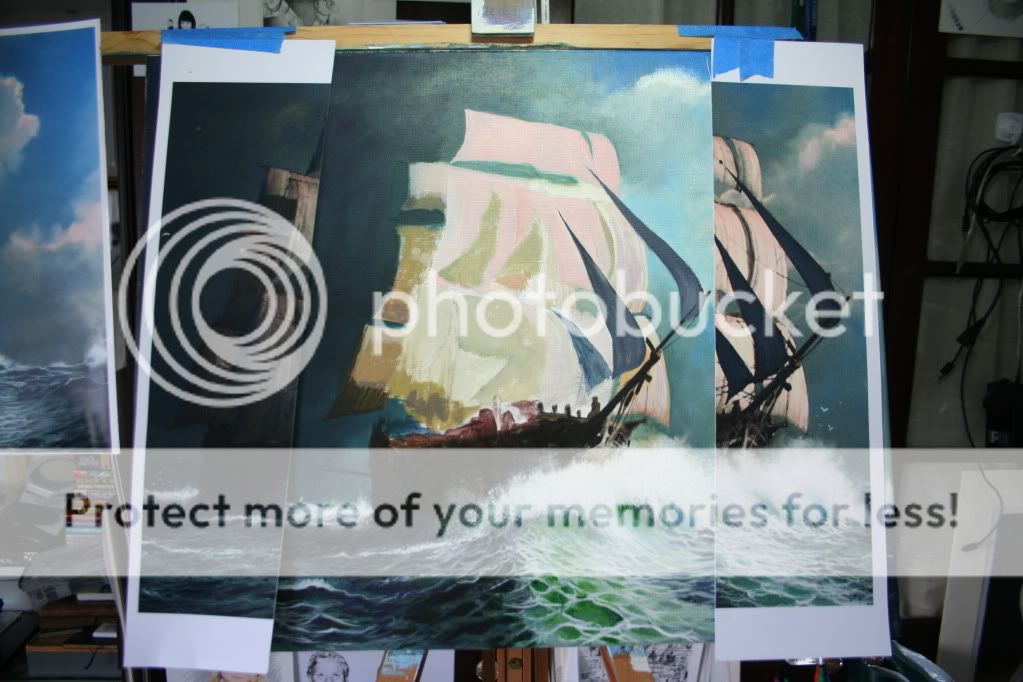
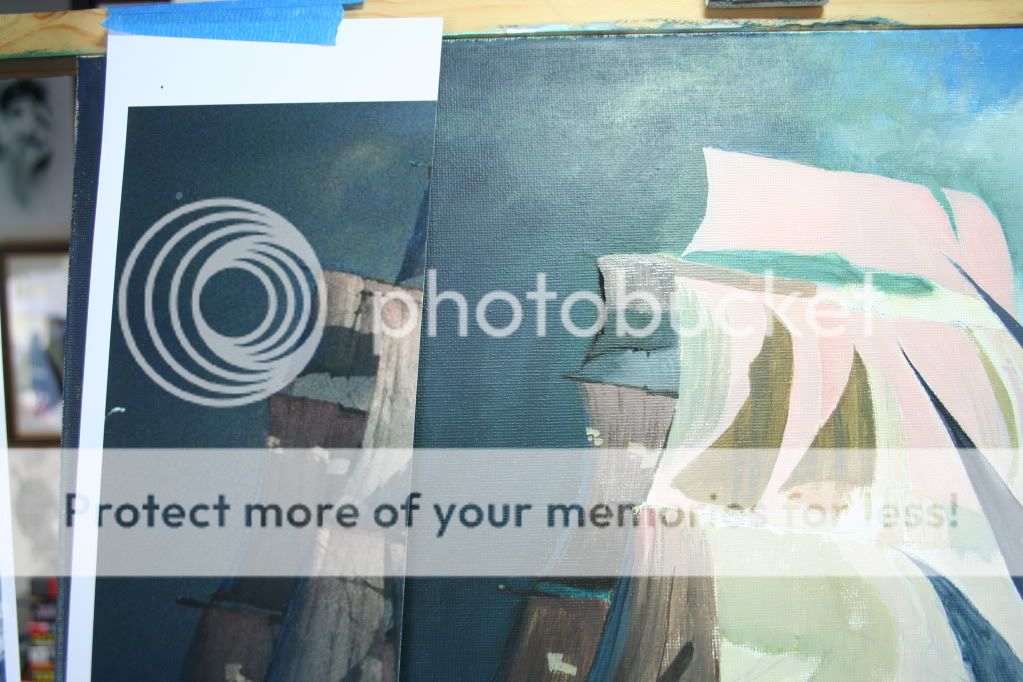
I’ve decided that the reference photo I have clipped to the spare extension leg on the left of my canvas is too far away, as I’m going to be working on the detail of the ship, I need something closer easier at hand. So, I cut up an A3 printout ( 16.5” x 11.7”) of the reference image, into three vertical strips and tape the first two (butting up against each other) on the left of the canvas to the extension leg on the top and the third, I again tape to the top of the extension leg, but on the right side of the canvas. The idea (it does work, honest!) is to be able to swing down any strip so I can compare what I’m working on easily, and when I need to see the whole canvas, I can swing them over the extension leg and behind the canvas. Weird I know, but similar to my drawings, I like working in strips.
Step 25
I clean my pointed No.6 with a freshly dampened wet rag, and start mixing a canvas colour I can see in the palette, the more I mix it up, the more I can make a little puddle of the colour I’ll need.
Armed with this new canvas colour, I start painting onto the sails adjacent to the dark side of the sky.
I return to the palette and make a new puddle of colour and sweep in some blue and make a tonal difference to the canvas colour and use this also on the same sails. Working between these two newly created puddles I blend in the left side sails with the darker tones near the bottom of the sails.
Step 26
Using the darker of the two new puddles, I start working on the shadows of the sails, these shadows. as best as I can make it are from the three dark blue sails at the front of the ship. After I have painted them in, I use the smaller hog hair (slight dampened) to brush away some excess paint to reveal i subtle hi-light, which makes the sail look kind of semi transparent (this is exactly the effect I want.
Step 27
With the first vertical strip swung down, I can easily compare the sails I’m working on. This really does help me achieve the effect I want on the sails. I start on the middle sail on the left side, paint it n with a purple/grey mix and using slightly darker paint, I start putting in a few vertical lines on the sail itself, I’m trying to replicate the stitching sections of the sails.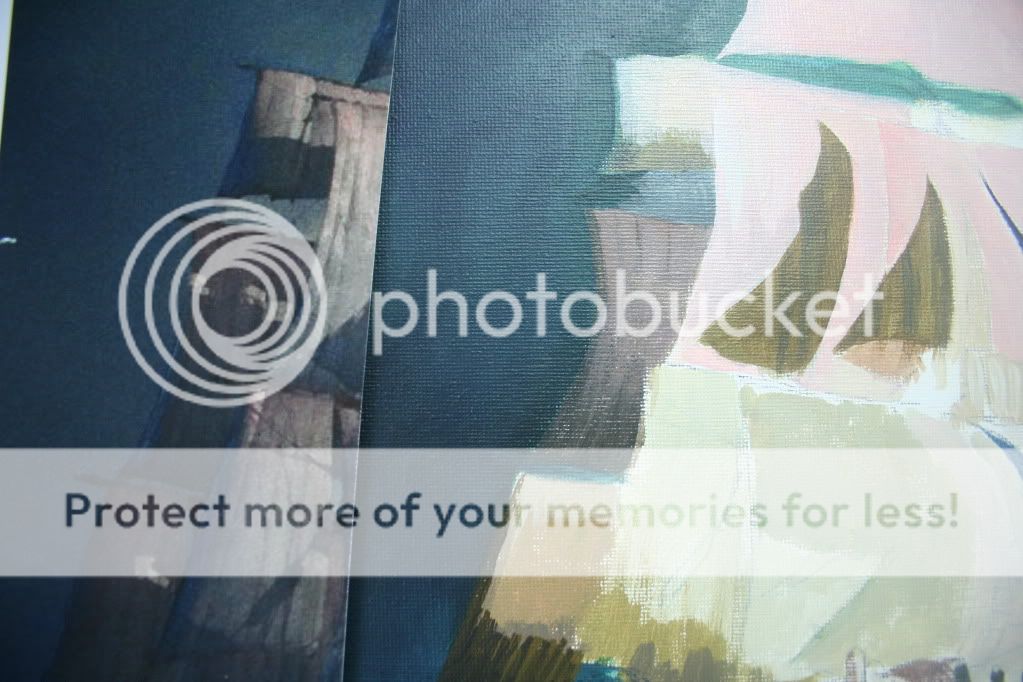
Step 28
I continue painting the bottom sail on the left hand side of the ship, keeping it similar in tone to the middle one above. I also start working on the back end of the ship (apologies again to all you sea folk, I promise I’ll look up the right term, honest!) and start defining the edge of the ship and some shadowy objects/people? I also try a bit of hi-light on that stick thingy (I’d never make it in the navy would I?) protruding from the side of the ship on the left hand side. I’ve decided to do a colour change on the left hand side of the top sail, I notice that there is a play of light and dark there I want to replicate.

Step 29
Now I begin moving forwards and start to paint the lower middle mast sail and also and a greener square of sail below it, almost touching the ship hull, but not completely. I use a bit of the colour I used to paint the two shadows I earlier. I add a few darker greener tinges to the base of the big sail and a few green strands hanging down onto the lowest sail. I also take time to paint in one of the light reflections onto the lowest rear sail, it looks a bit like a fat arrow, I think this is a bit of light coming through the sails from the front. It looks a bit odd, but I’ll come back to it later, this is just the bast colour of it.
Step 30
I repeat the process I did in the previous step and add some more light marks to the second rear sail, these shapes are more square-ish I swing down the reference photo to help me get the exact location of these light marks (my earlier pencil lines have long since deserted me!). I paint the slightest of hi-lights to the end of the horizontal beam at the top of the bottom rear sail. I also give a little attention to the left side of the top sail.
Step 31
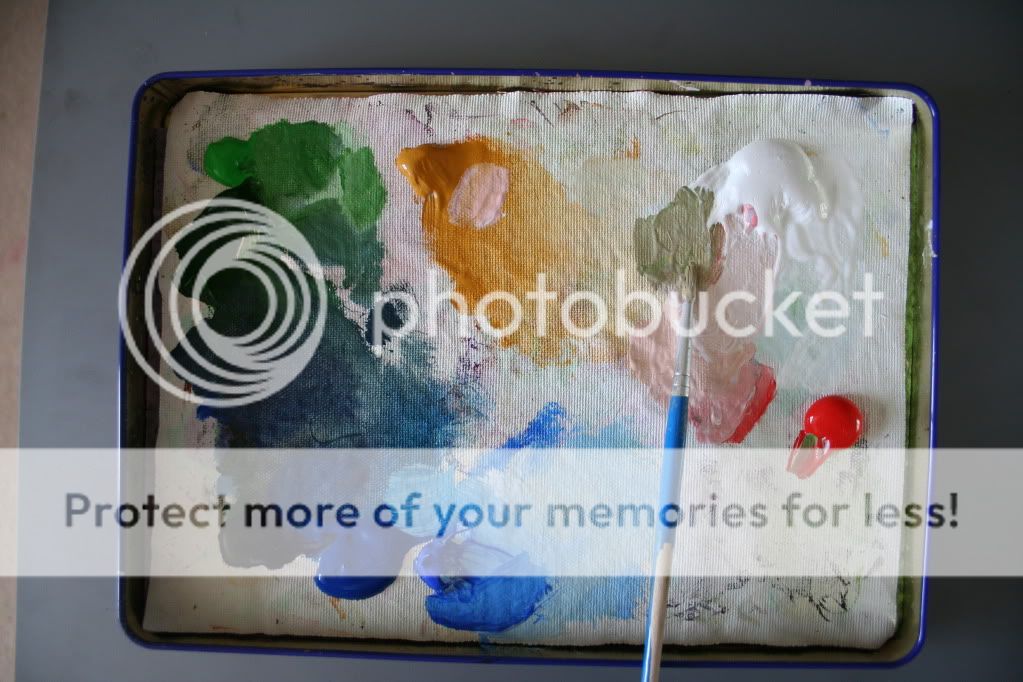
My palette is starting to become as rough as the sea I’m painting! (very inspirational methinks).
Okay, back to this painting (I seem to digress an awful lot! – sorry) I now start adding some shadows of rigging shapes onto the big middle sail, and I’ve introduced some blue up on the edge of the top rear sail to match in with the two lower sails. I try painting a practice thin line on the sail I first painted using my rigger brush (the sail on the right hand side behind the sticky out bit at the front, see?)
Step 32
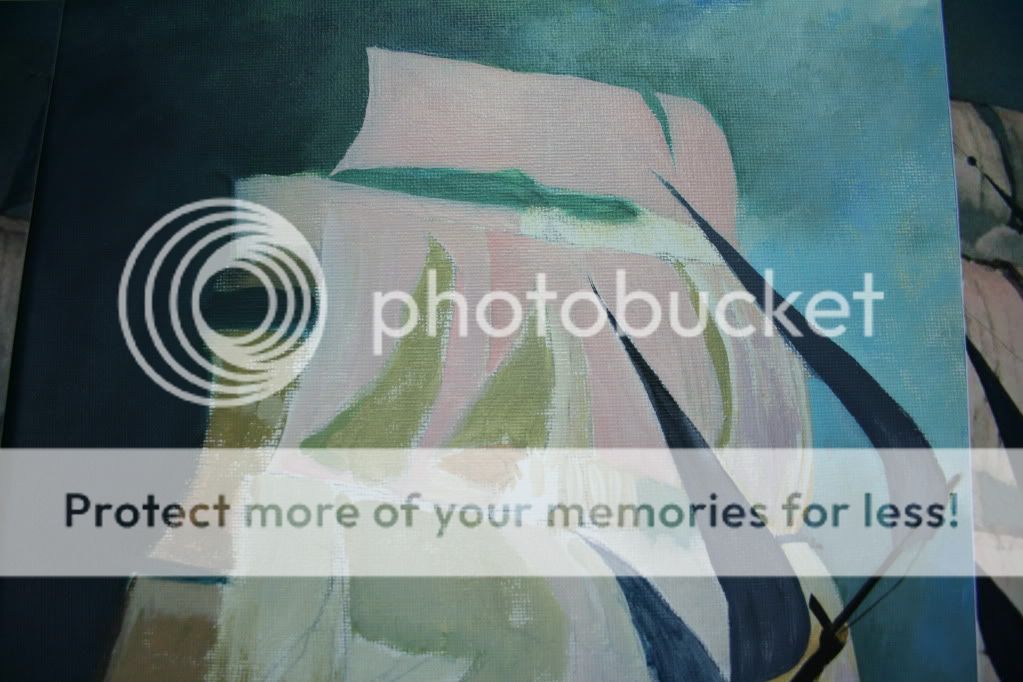
Now I’m sailing! I start painting in a slightly darker green on the main lower sail and define a lighter canvas green colour triangular shape inside this. I also use my rigger brush to draw a few lines across the lighter triangle of sail as well as a few lines of rigging on the sail behind this one (near the top of it). I’ve also decided that the shadow on the sails above need darkening a bit (just a tad mind you).
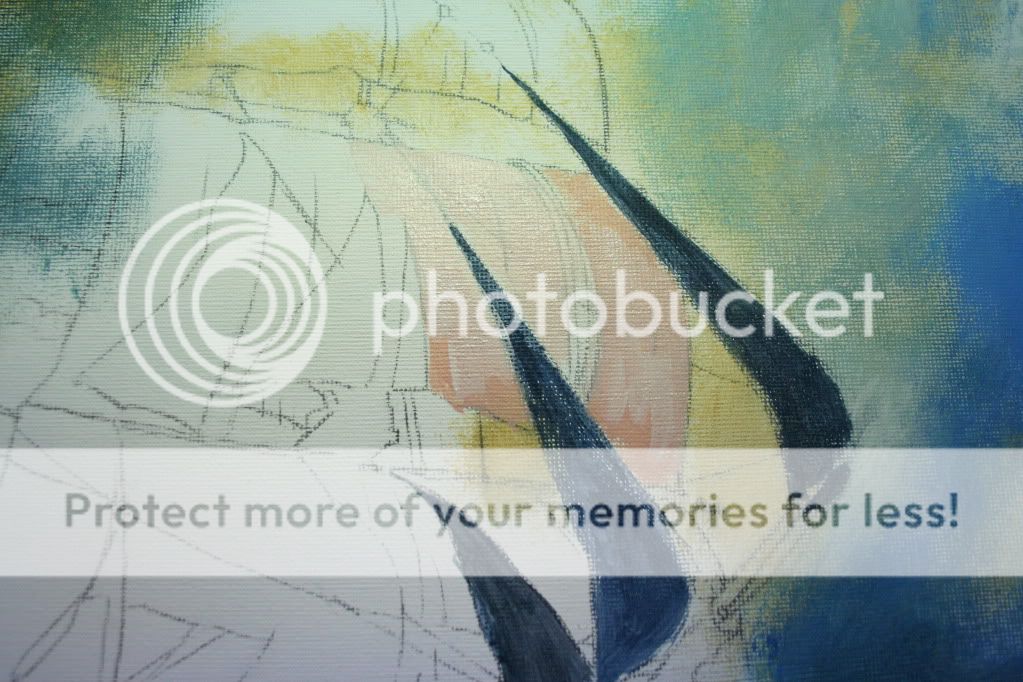
Step 33
I begin defining those three long blue triangular sails with some more blue, the smaller one first, getting a slightly bit darker. I also start working on the top of the ships decking, painting in the basic forms trying to define a main square bit of decking where most probably the ships wheel is situated.
Step 34
I carry on defining those three front sails with a darker tone and then when semi dry, blend in some lighter blue tones to show some flowing body to them. I also decide to start painting in some of the darker mast shapes in between the two main sails and add a few thicker darker rigging lines where needed. I repaint the sticky out pole (is it a mast?) at the front of the ship and paint a few more rigging lines coming from it. I also begin to try and pick out some structure to the main decking and side hull with some subtle lighter lines with my rigger brush. I add the faintest lines of rigging underneath the top rear sail in that lighter section.
Step 35
Now I divert all my attention to the rest of the top sail, painting in an matching it up with the surrounding sails, I give it a slight light green shadow and start painting the next central platform below it as well as the beginnings of a top mast and cross bars on each of the sails. I also use the rigger to start joining the three front triangular sails onto the main masts with a couple of bauble type shapes on the main lines supporting them.
Step 36
I bring the lower main sail down lower with painting and paint in some subtle shadows behind them at the base. I add a secondary bauble shape to the tallest rigging line of the three triangular sails and draw some fine rigging lines from it to the top platform. I’m getting quite confident with painting lines and with my pointed No.6 brush, I am able to paint the thinest of rigging lines drooping diagonally from behind the three front blue sails, and carry on up across the main lower sails. I decide that I need some seagulls on the right hand side, and using the smallest brush, paint in a few birds, smaller ones further back.
Step 37
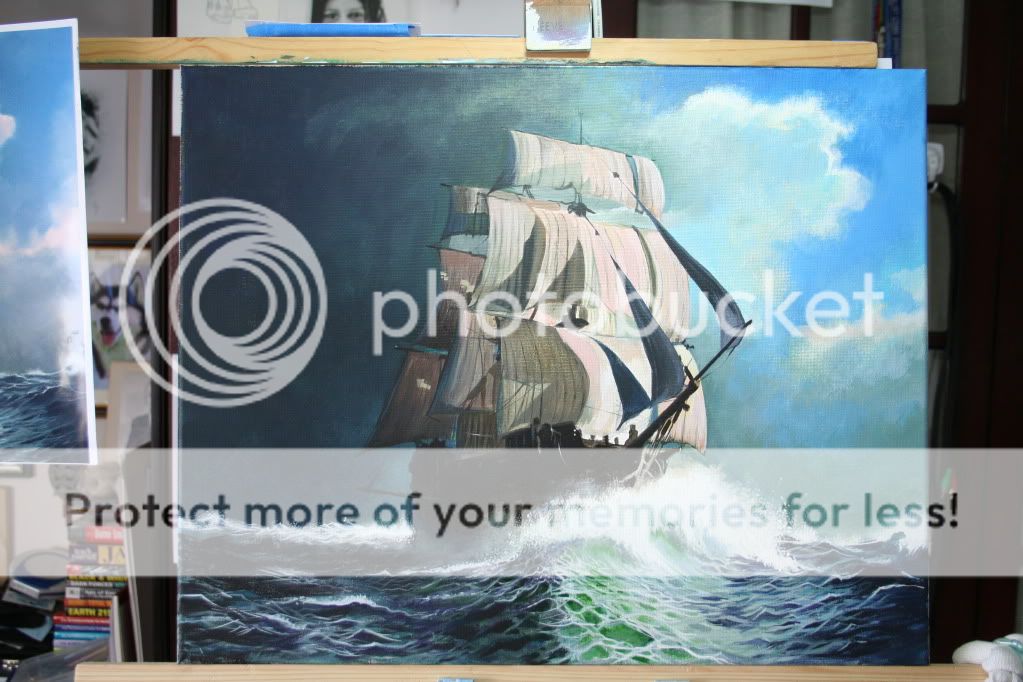
The seagulls look great, but I need some more on the left hand side, I start with that large one in the top quarter of the dark sky, then follow on with a few smaller ones below it and even smaller one around the cross bar protruding out.
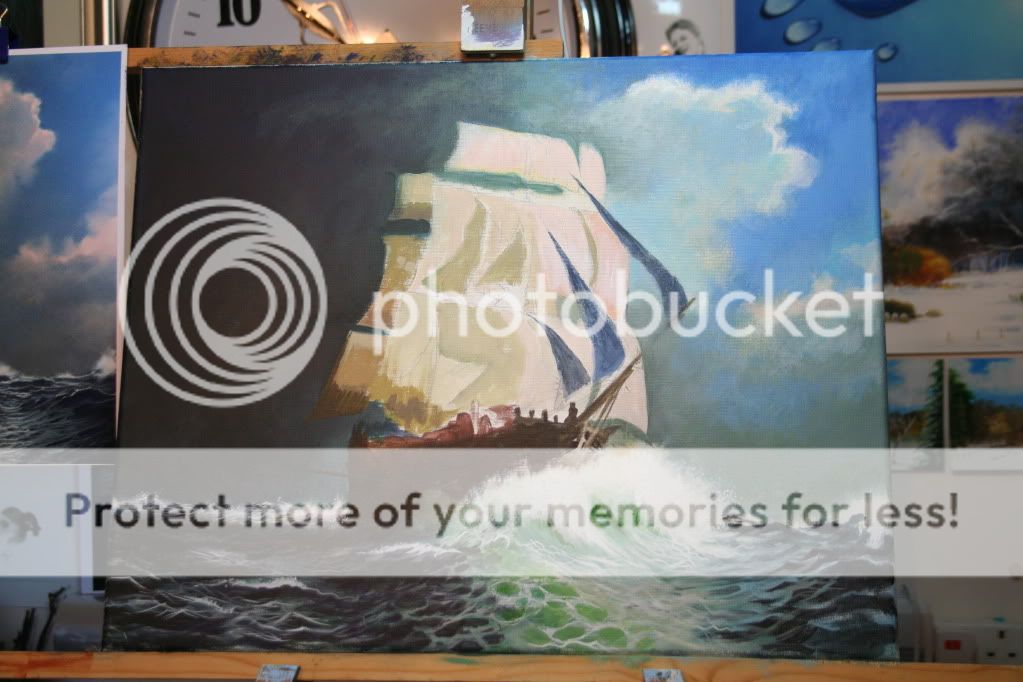
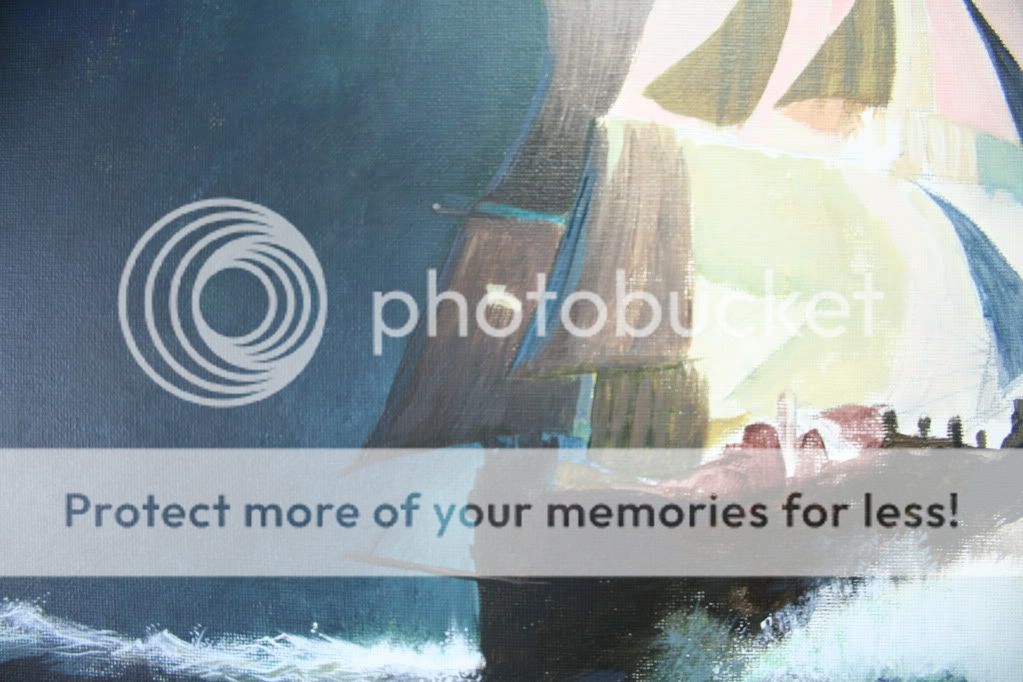
I then step back and look for a few touches here and there I think needs doing, a few lines of rigging to add over here and maybe over there? I work on the sprays of water on the shadow side of the hull, add a few whiter drops of water to the tops of the crashing waves. I even paint in a very, very subtle net on the front below the main front mast. You know something? I think I’m done. Five hours later, looking somewhat pleased and very proud of my efforts, I realise I have finally finished painting my first ever sailing ship in acrylic.
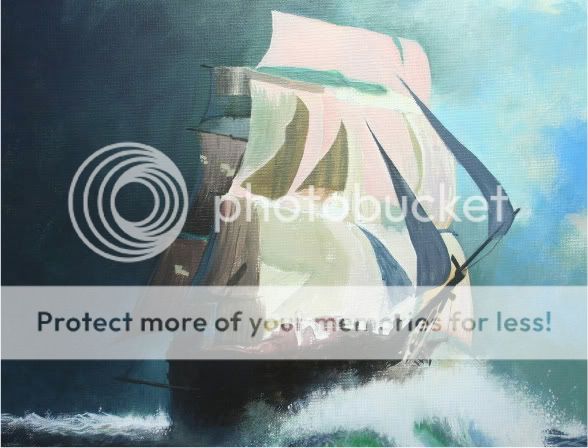
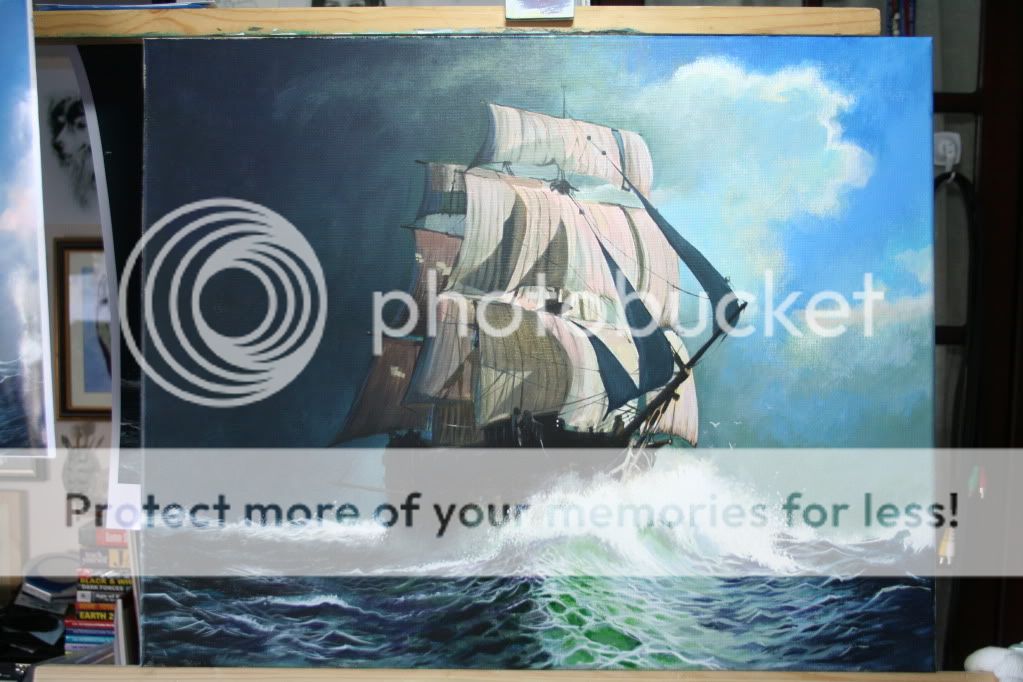
Finished
Here at long last is the finished piece
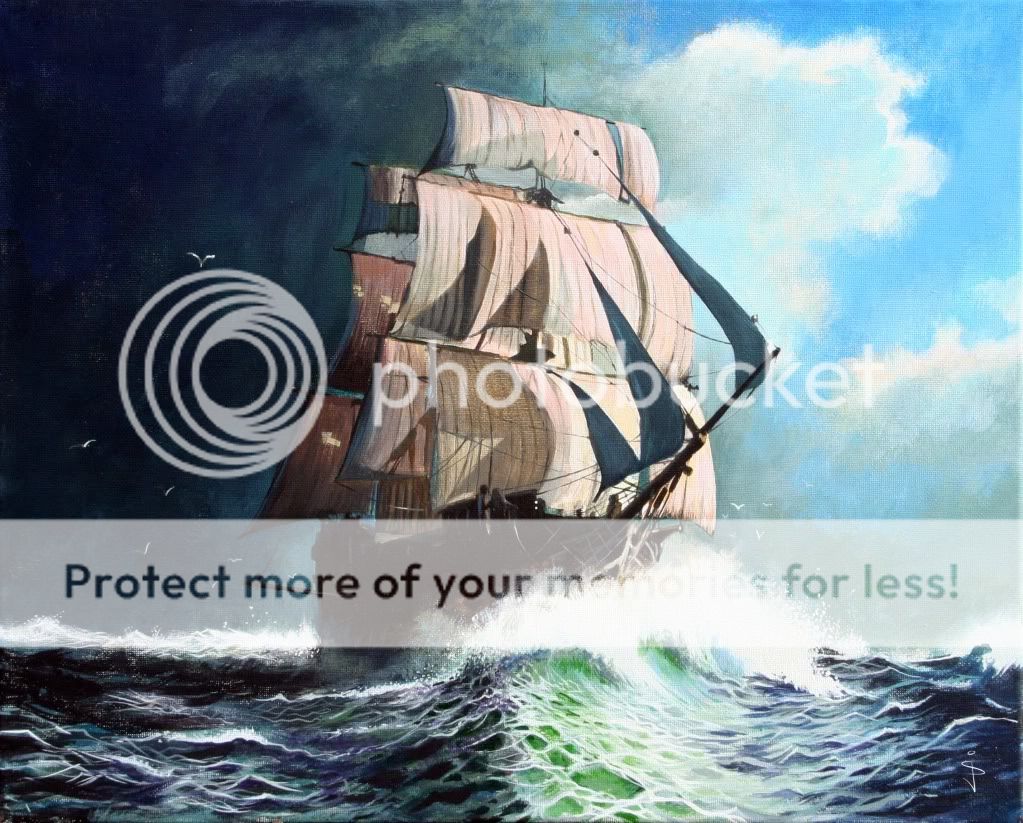
Thank you for your time and especially your patience in reading this tutorial, I do hope you now have some kind of insight into painting this beautiful sailing ship, and hopefully won’t be so afraid in the future to attempt this kind of painting.
Jan (Happy Painting)
<div class="journal-nextprev group">
